
Let’s look into some simple but clean direct composites in the anterior dentition. We believe that direct composite is the basis for good and durable dentistry, since everything we do nowadays is based on adhesive protocols.
If we succeed in this stage, we can postpone invasive treatments and save the dentition from more destructive treatments. Do you want to know more about our protocols? Follow our Direct Workflow course Angles & Ridges now!
Case 1 by Erik-Jan Muts (@drs.erikjan)
Replacement of old composites
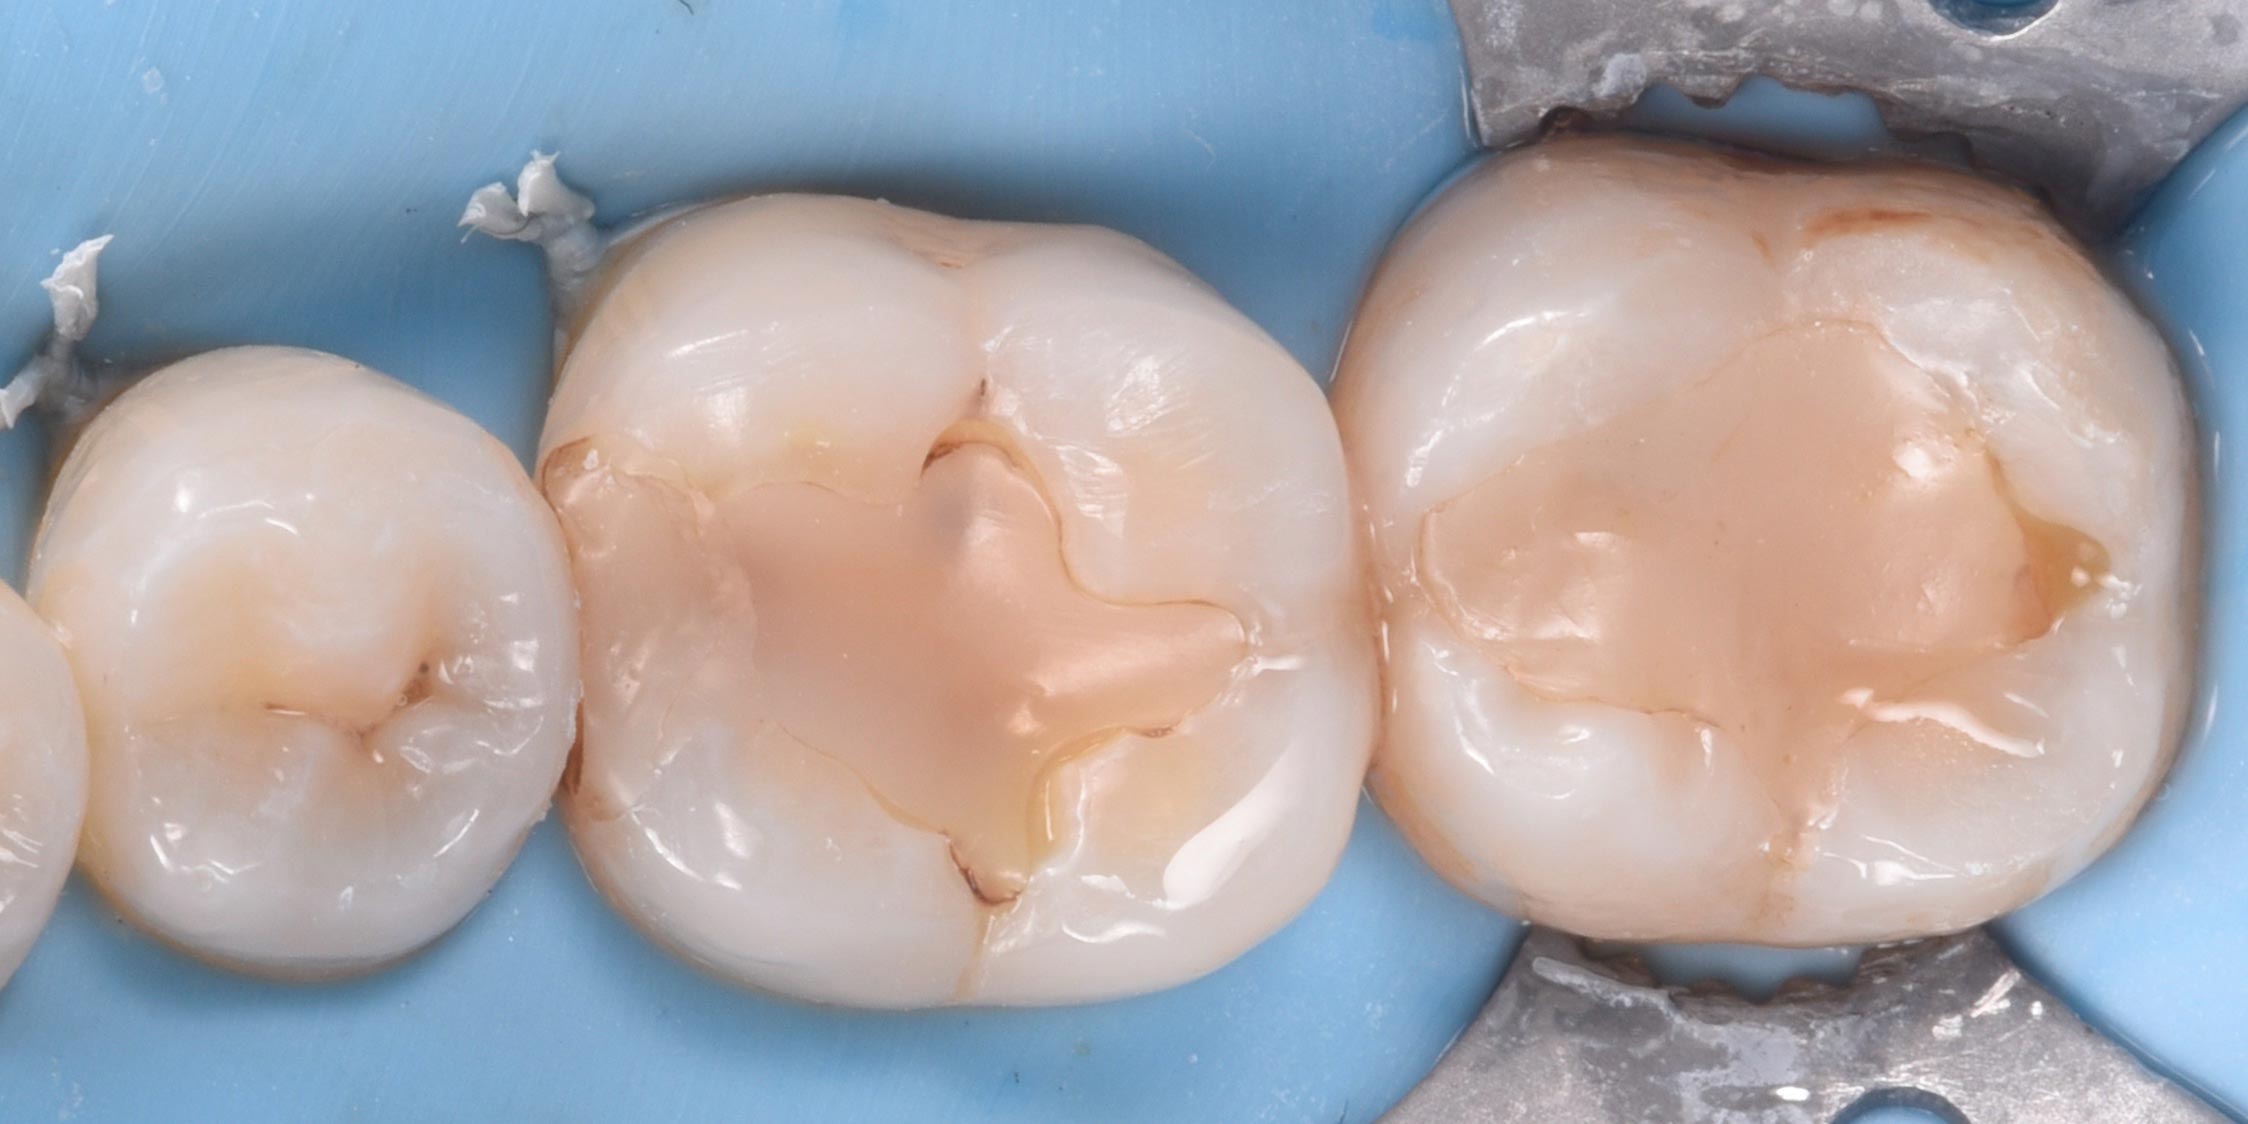
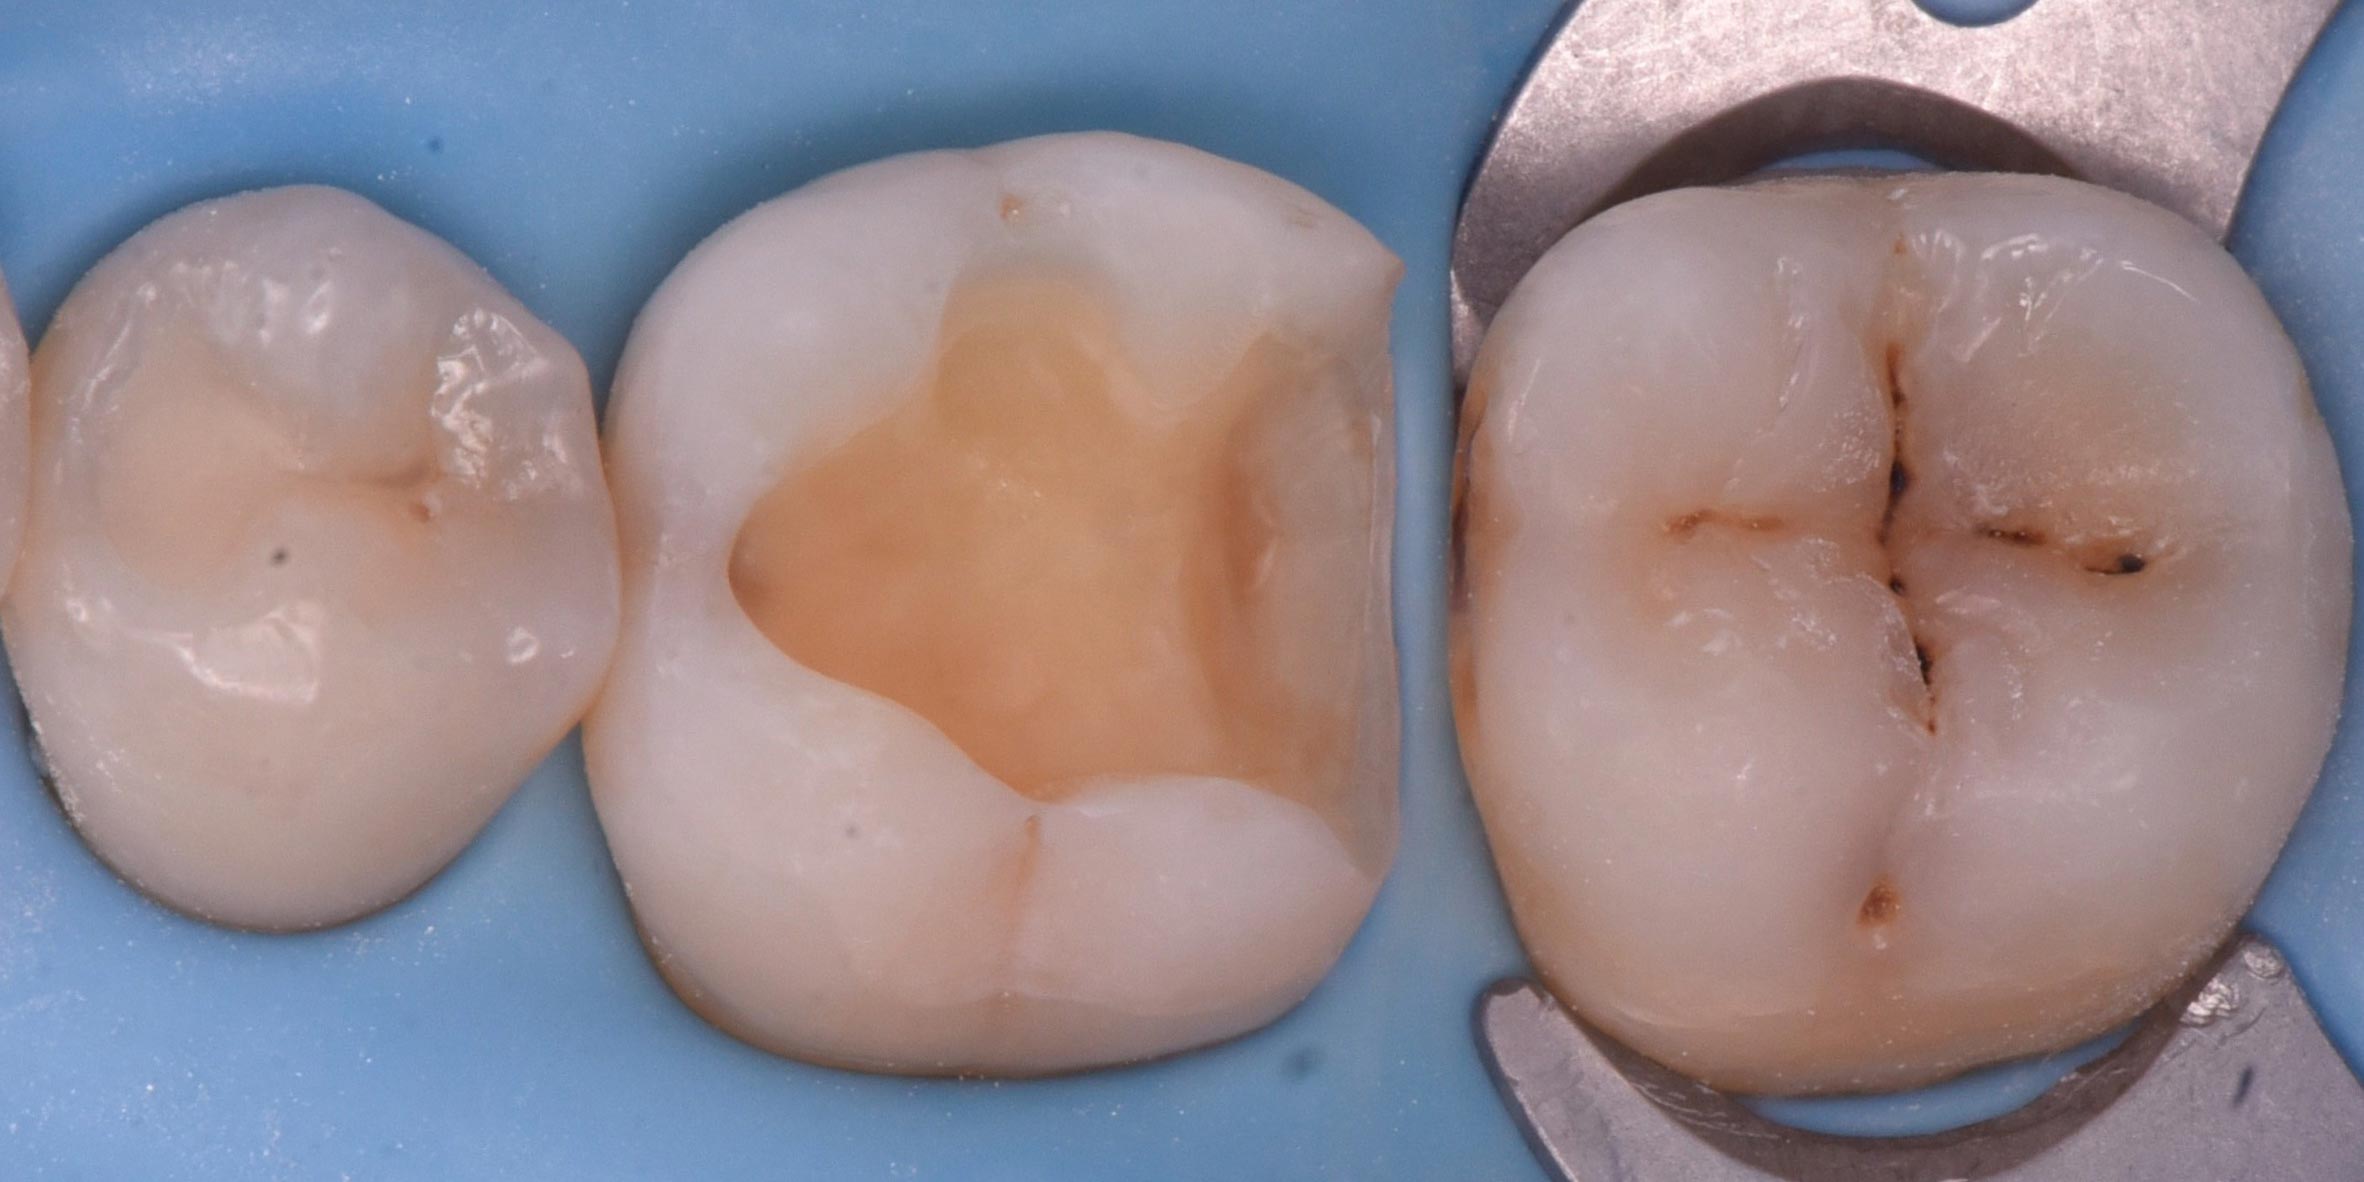
Initial situation after isolation with rubberdam.
Click images for enlargement
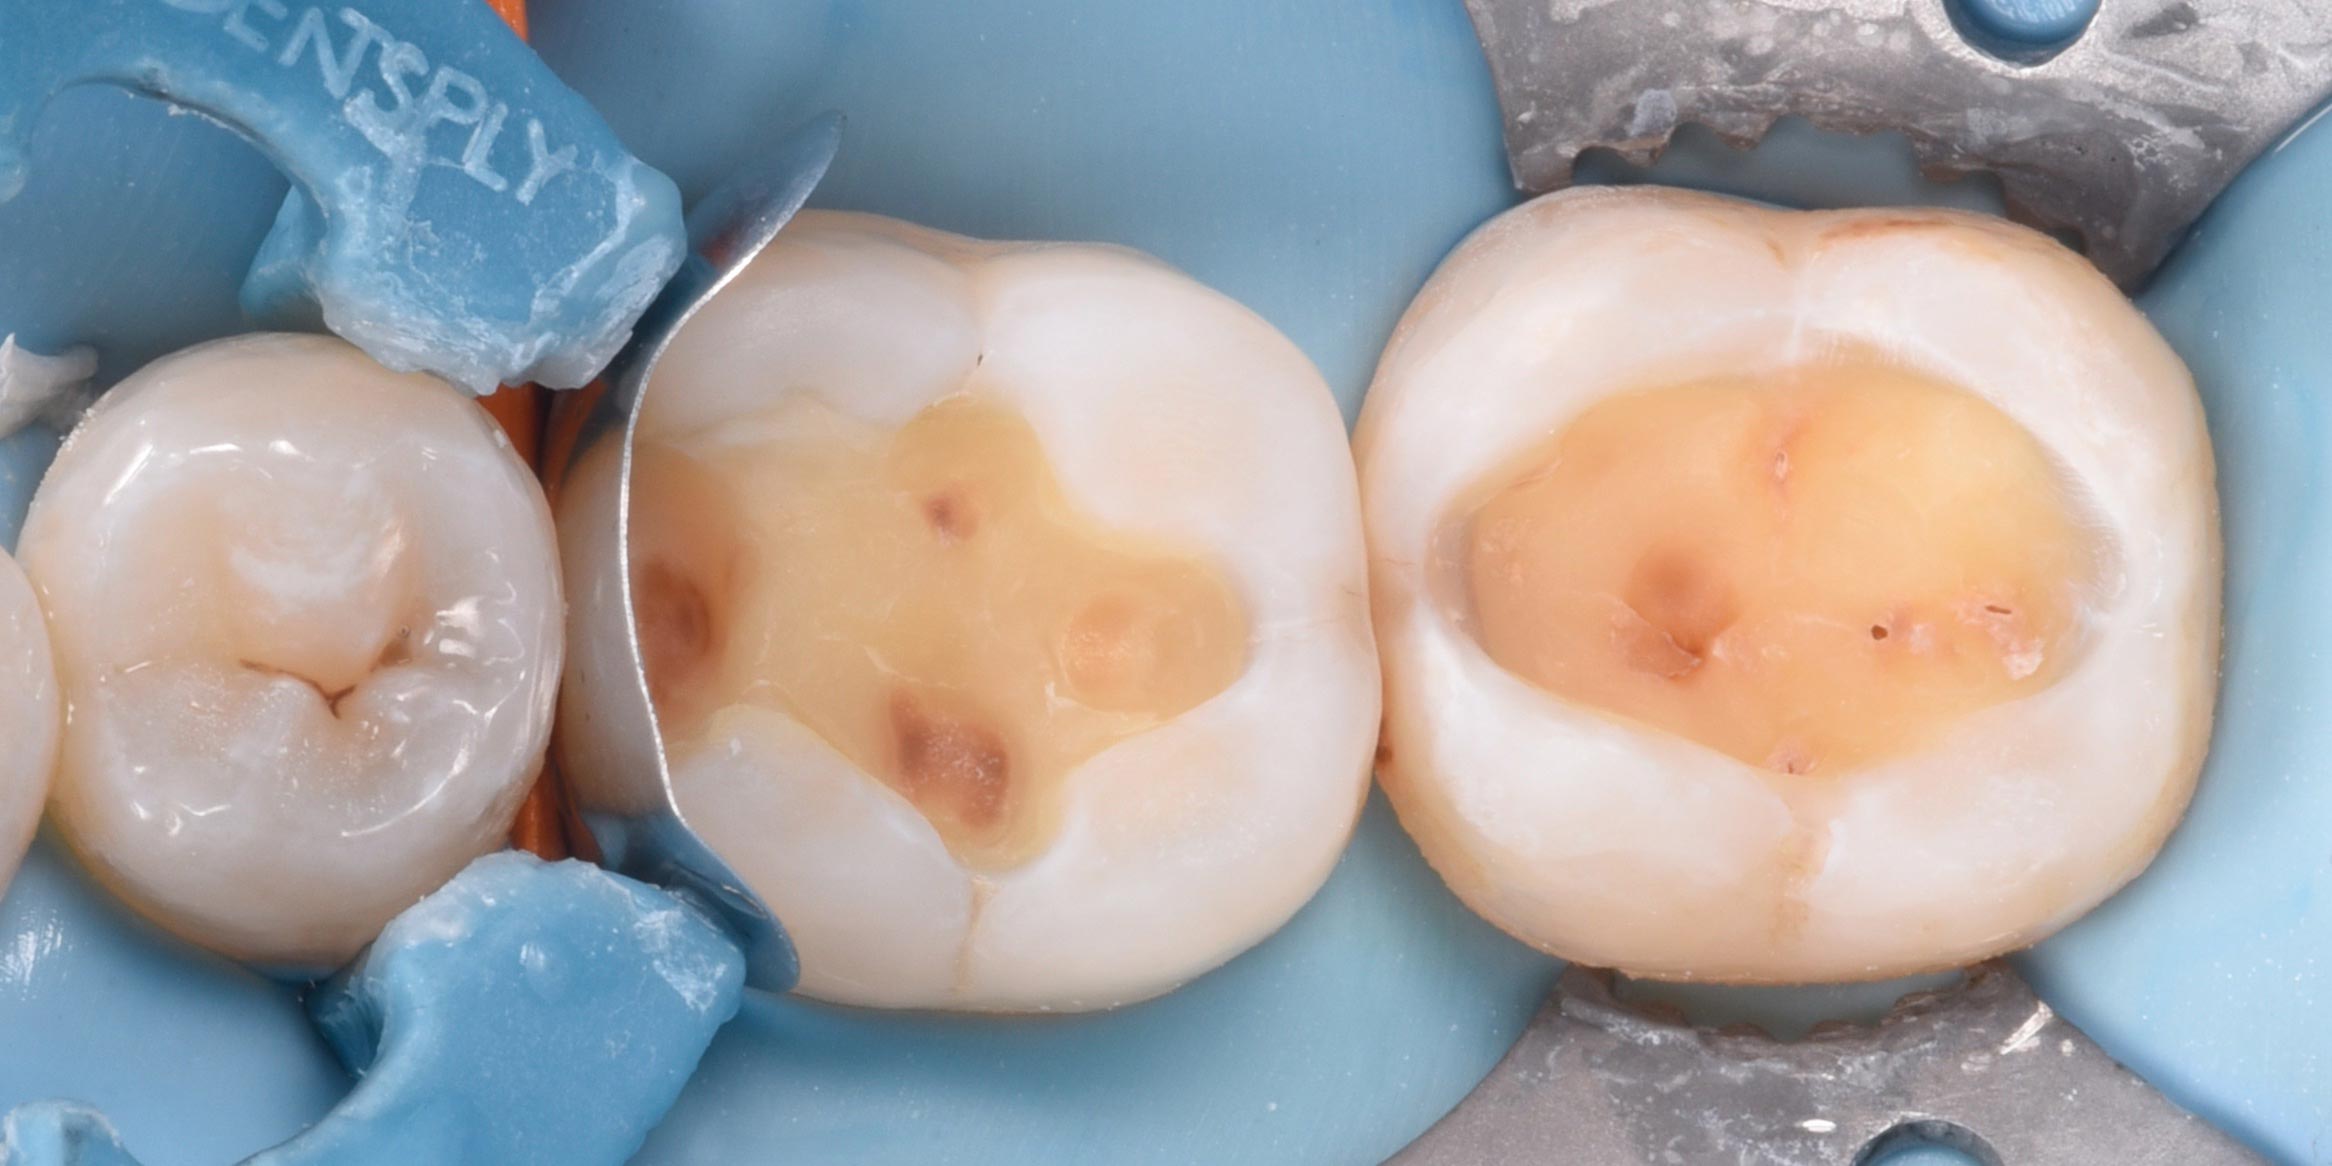
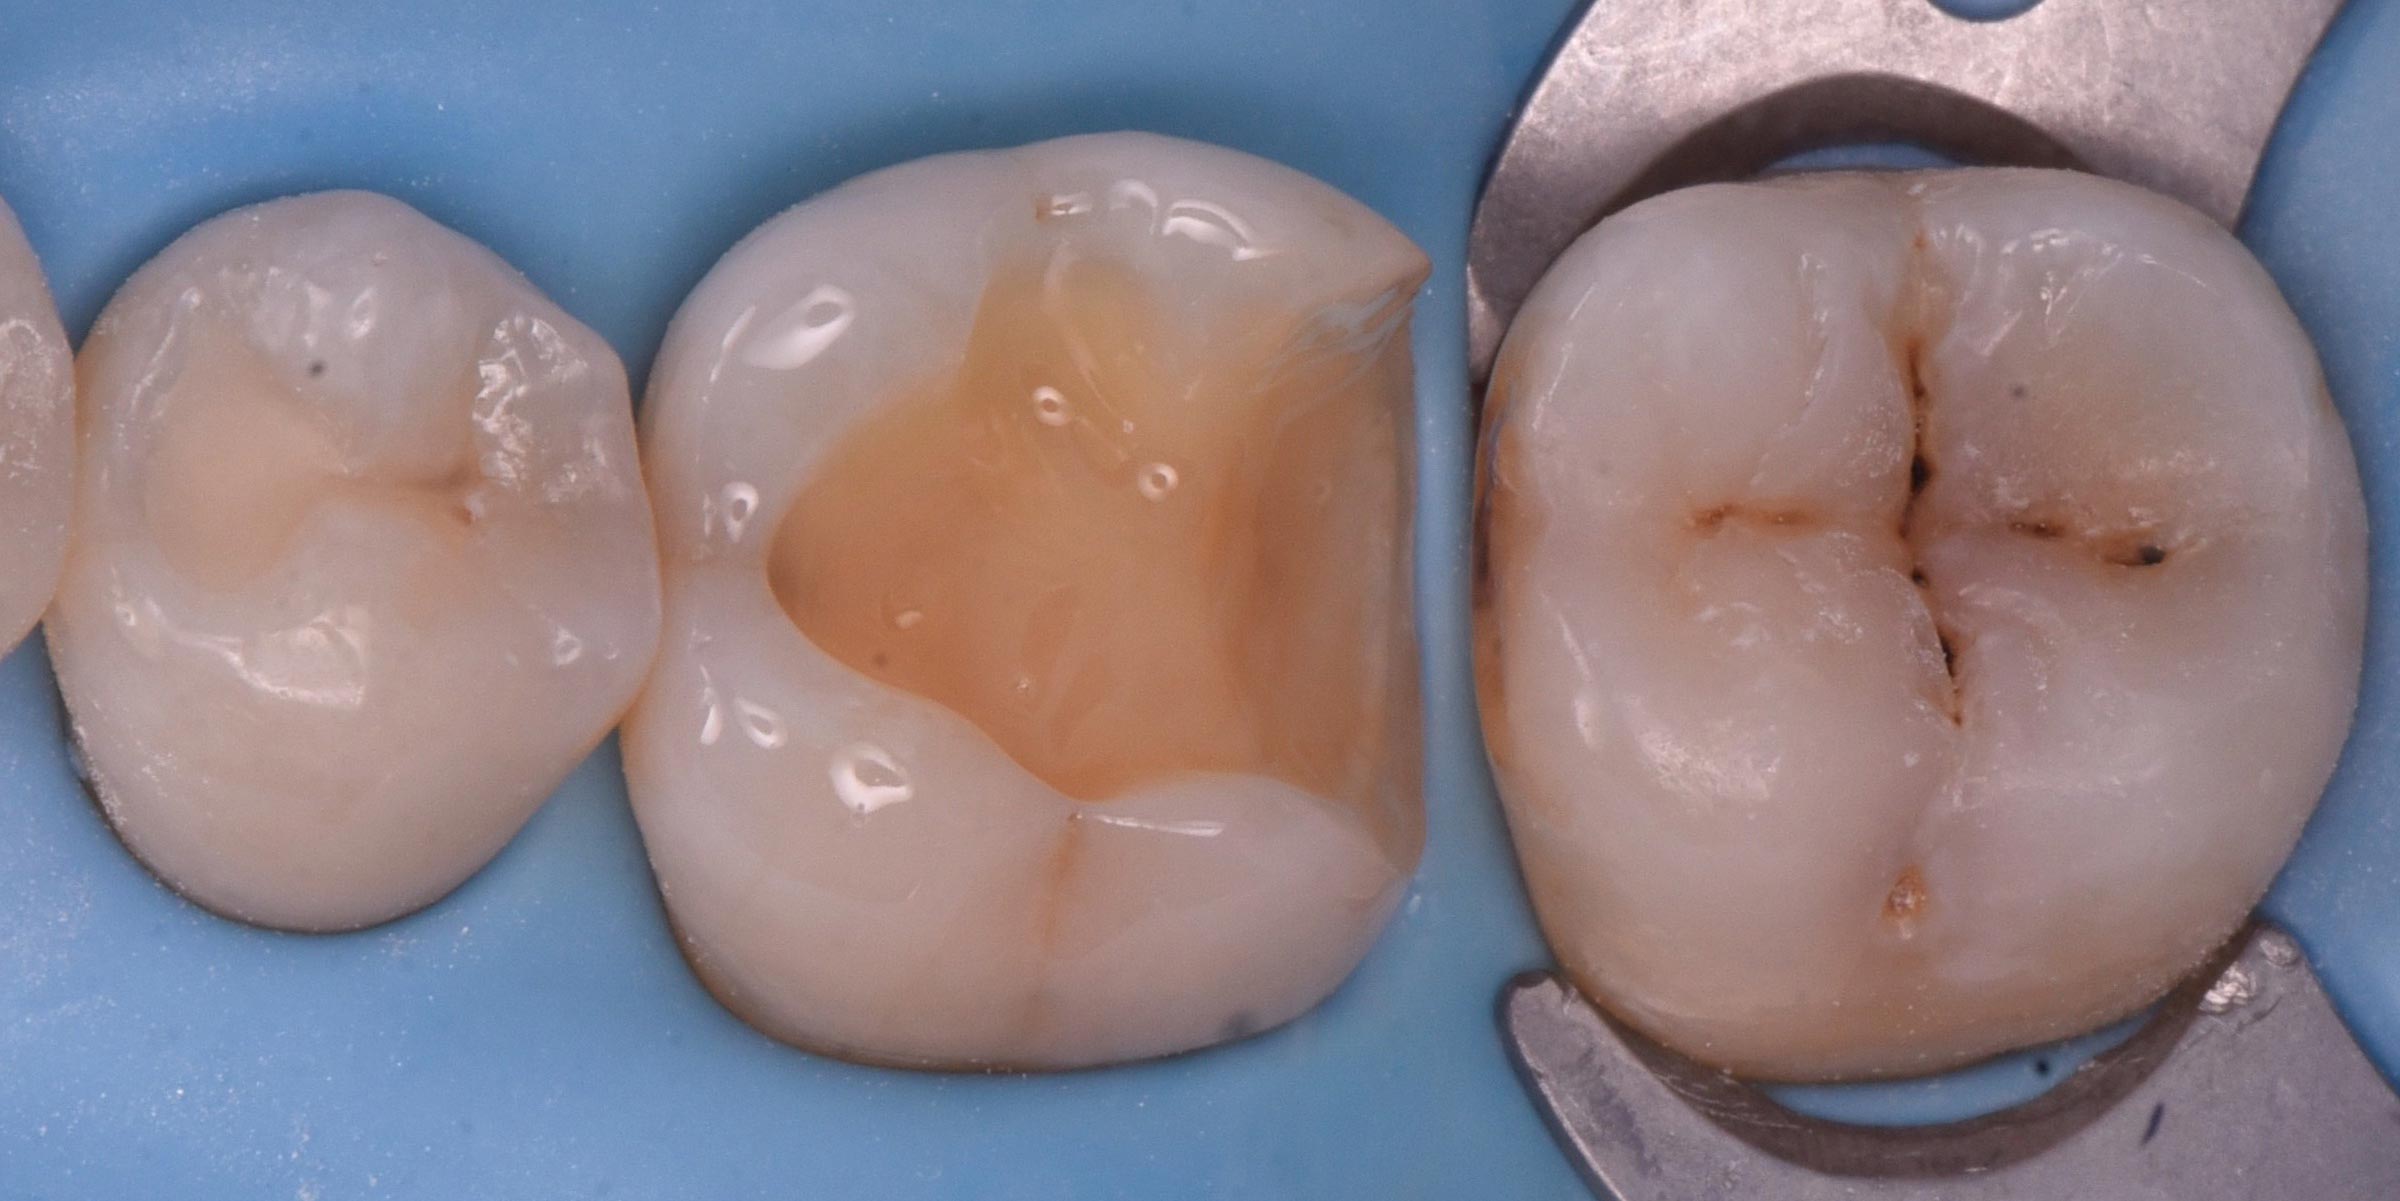
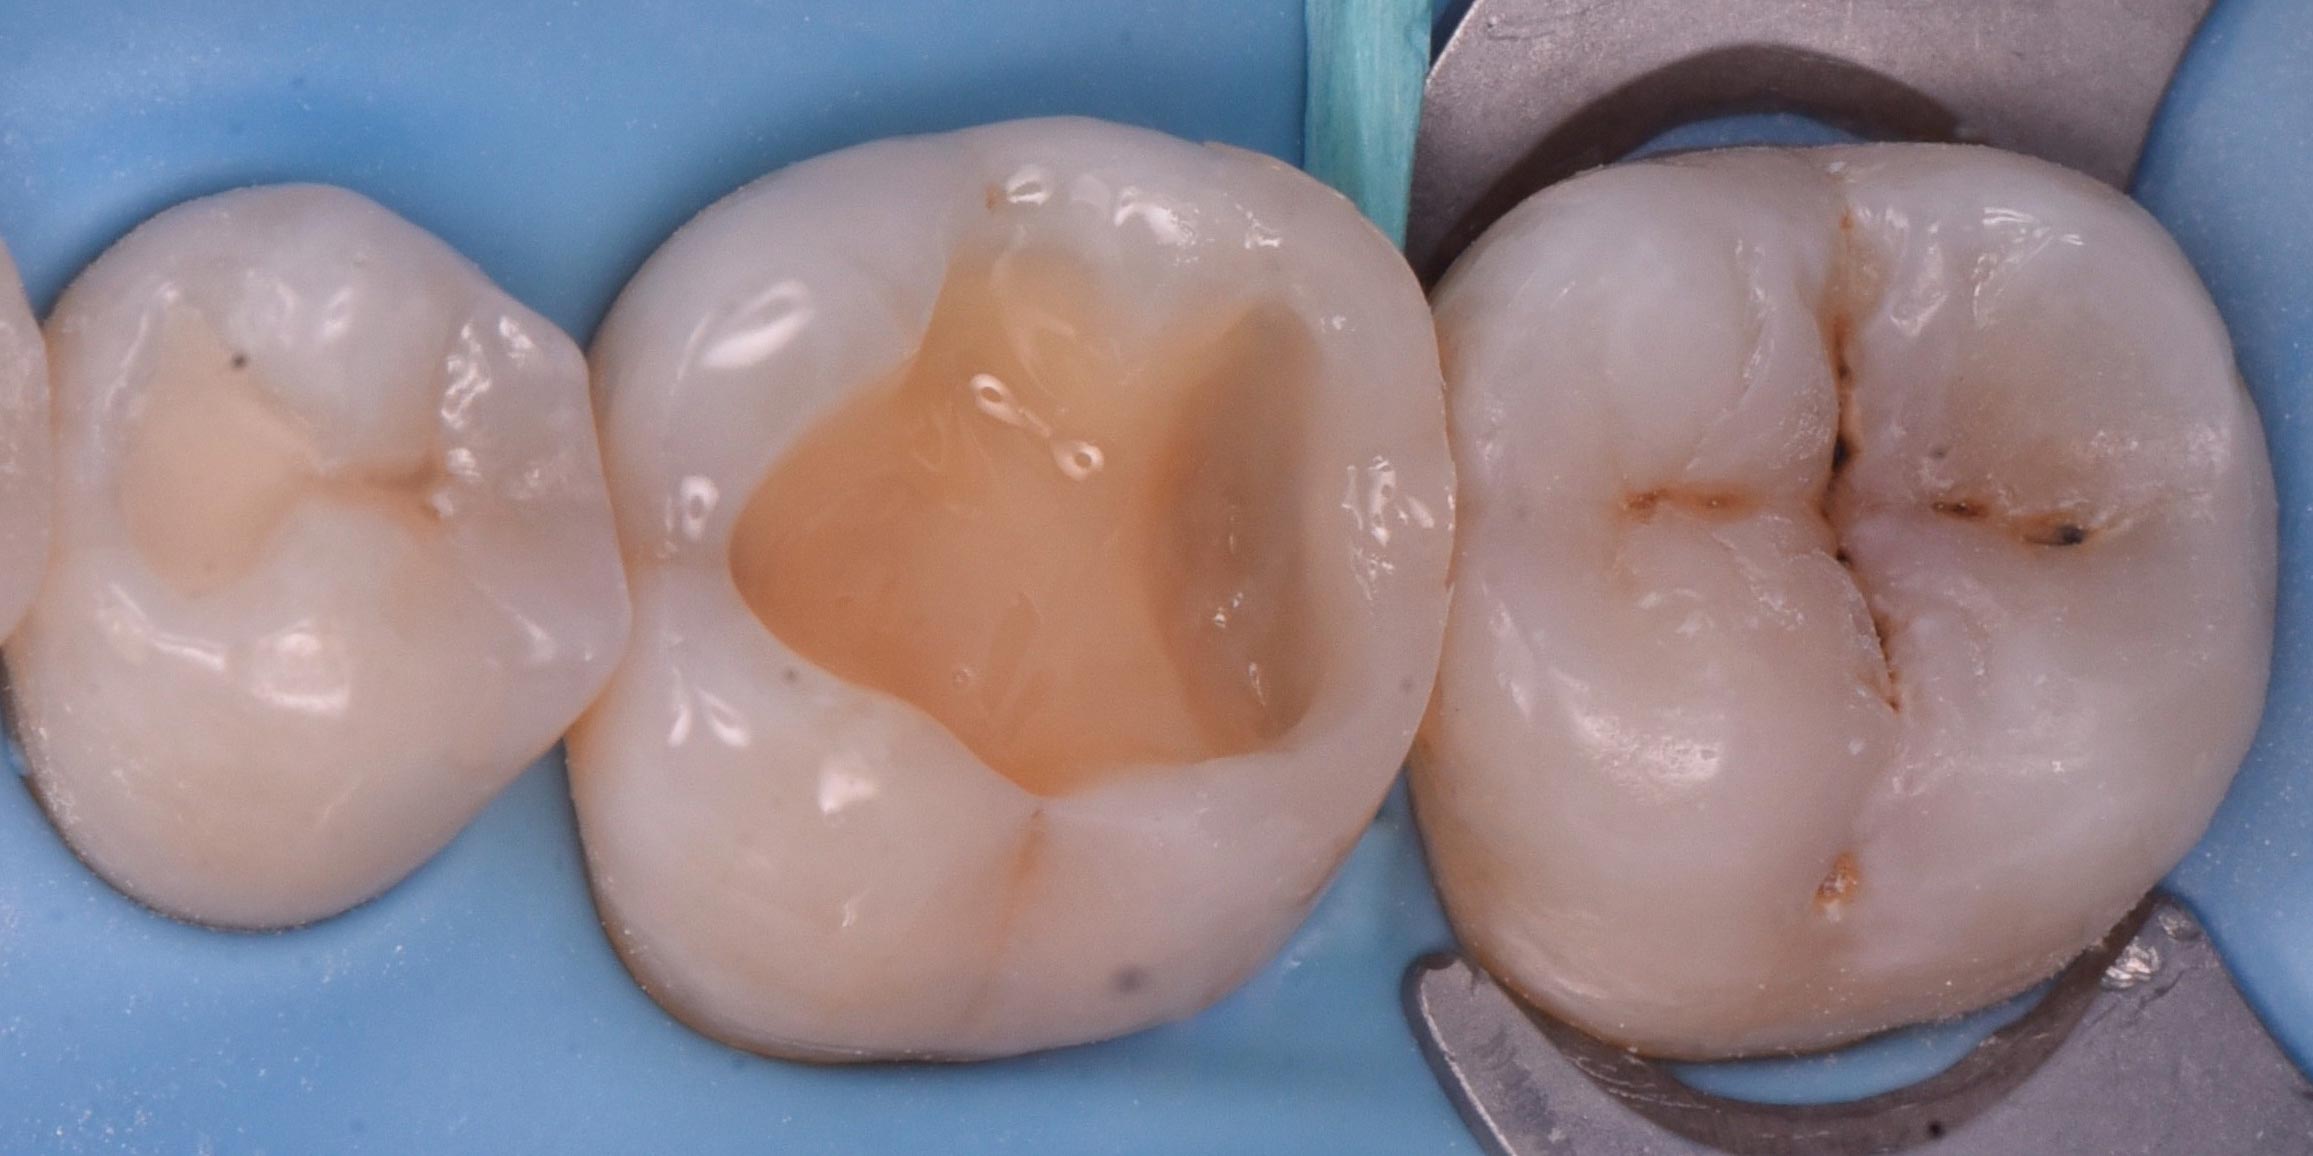
After removing the old composite, excavation and air-abrasion with aluminium oxide 29um.
Related products:
AquaCare aluminium oxide 29
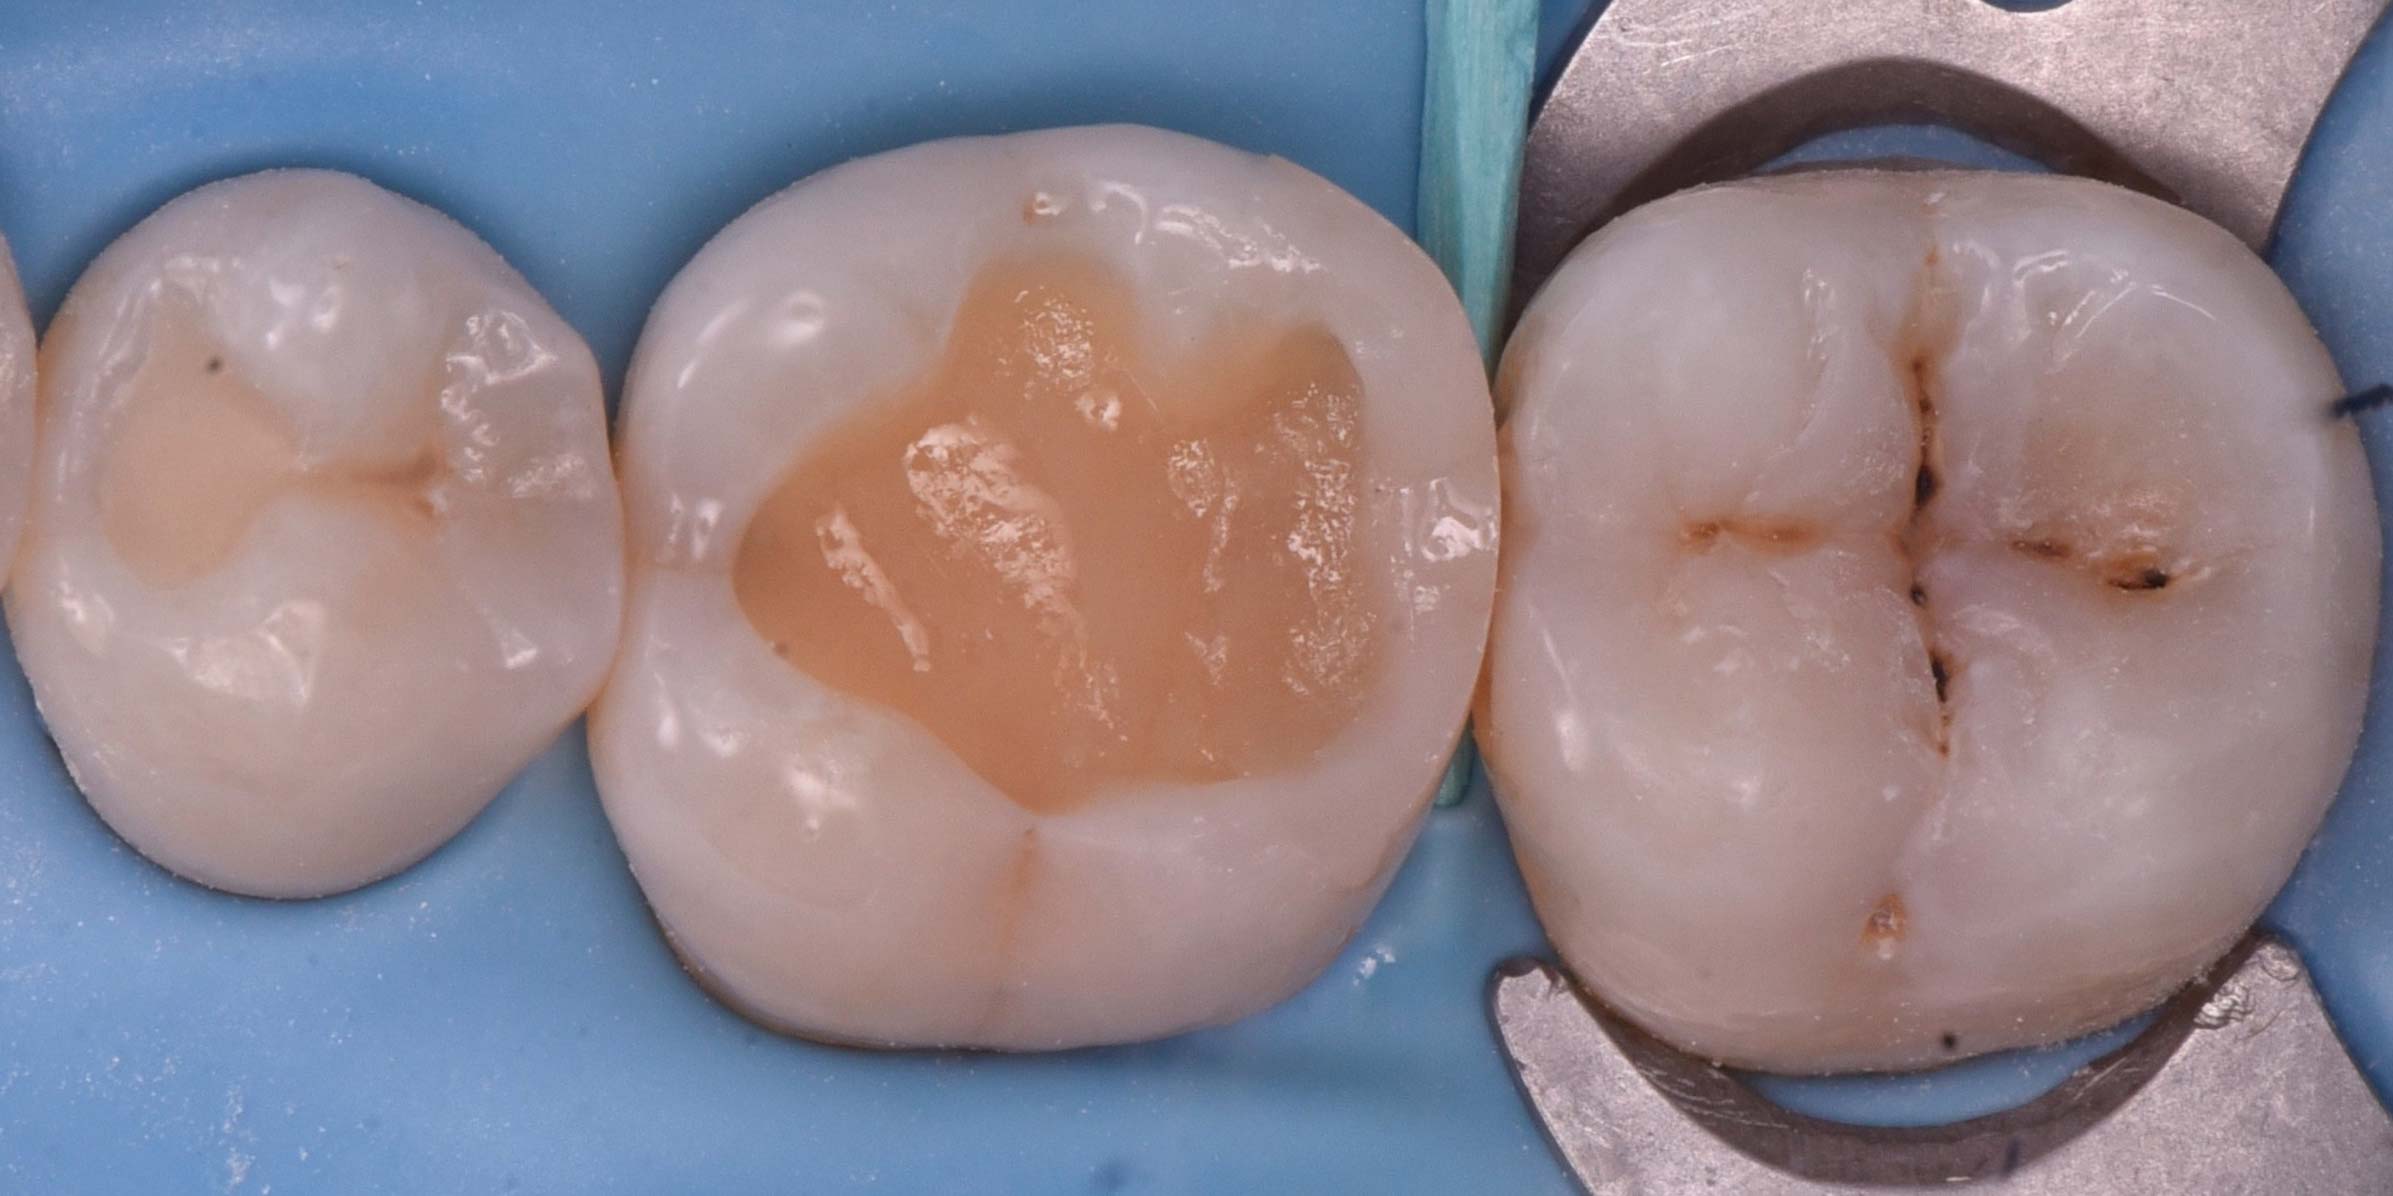
Immediately after restoration with direct composite using a Giomer Composite. Tints are used to create more 3D-effect.

Case 2 by Erik-Jan Muts (@drs.erikjan)
Primairy and secundaire caries
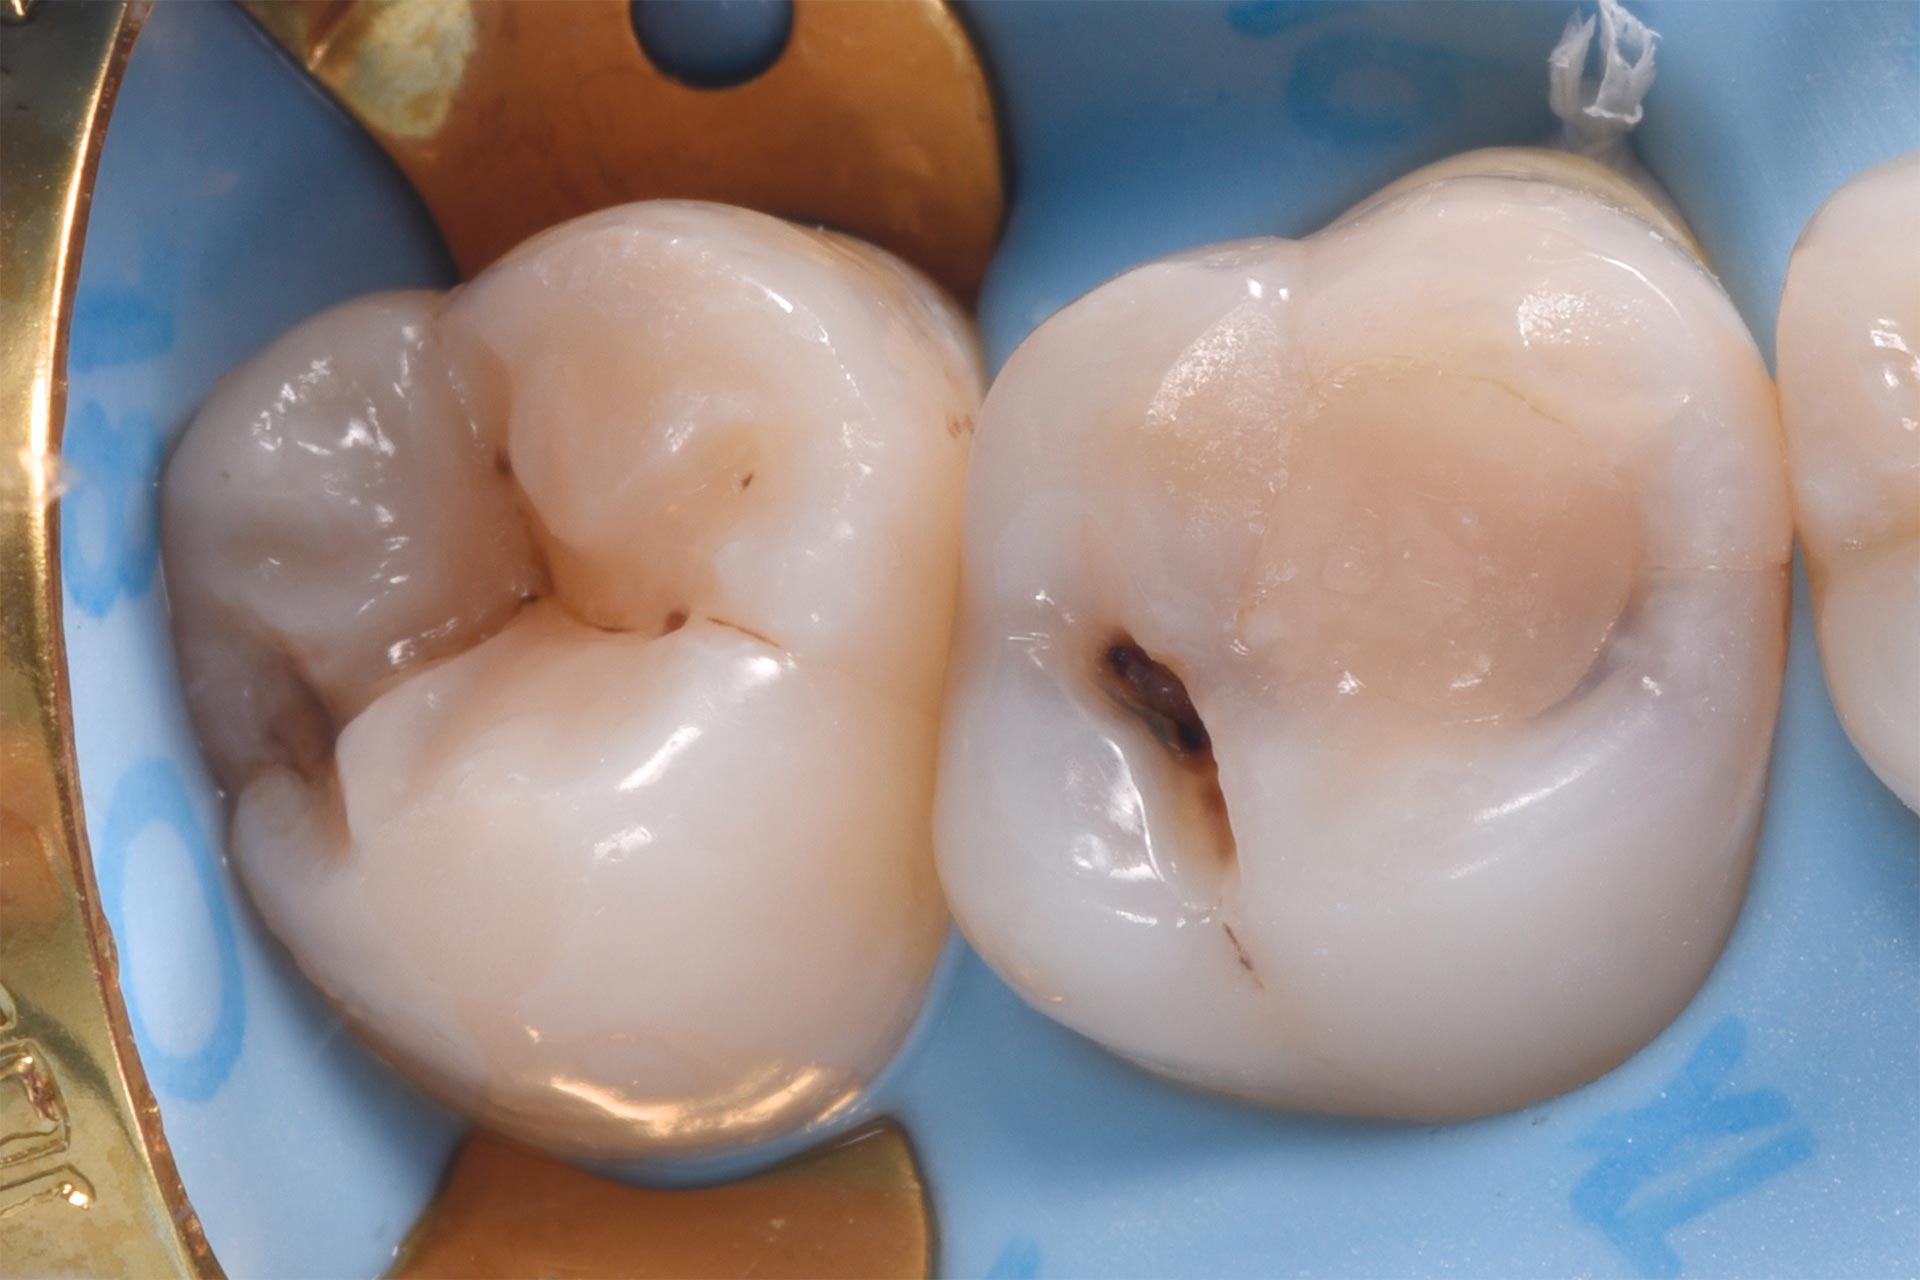
Initial situation, on small second molars in the upper jaw the use of a (golden) B2 clamp can be very useful.
Related products:
Clamps
Click images for enlargement
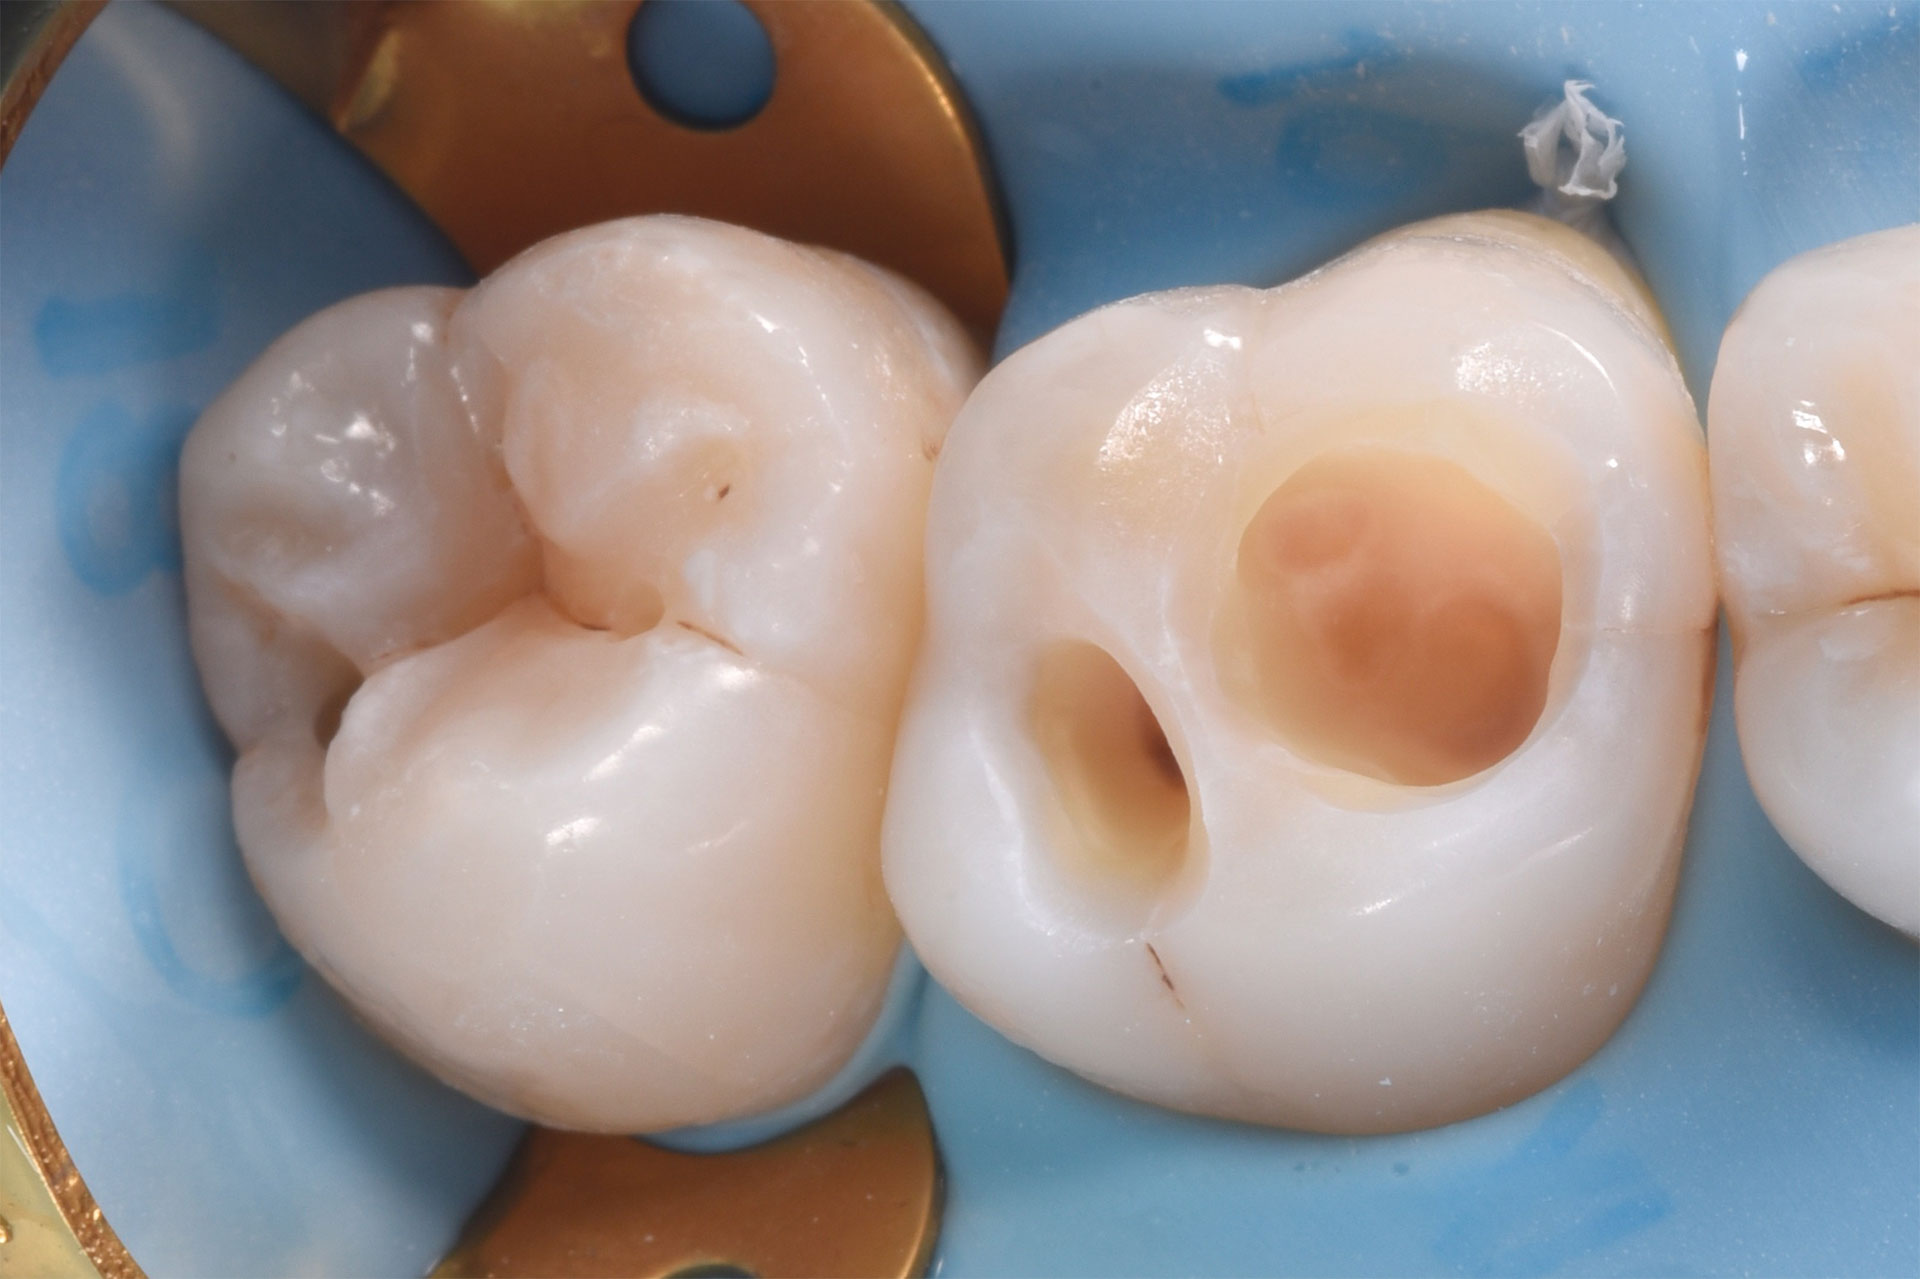
After removing the old composite, excavation and air-abrasion with aluminium oxide 29um.
Related products:
AquaCare aluminium oxide 29
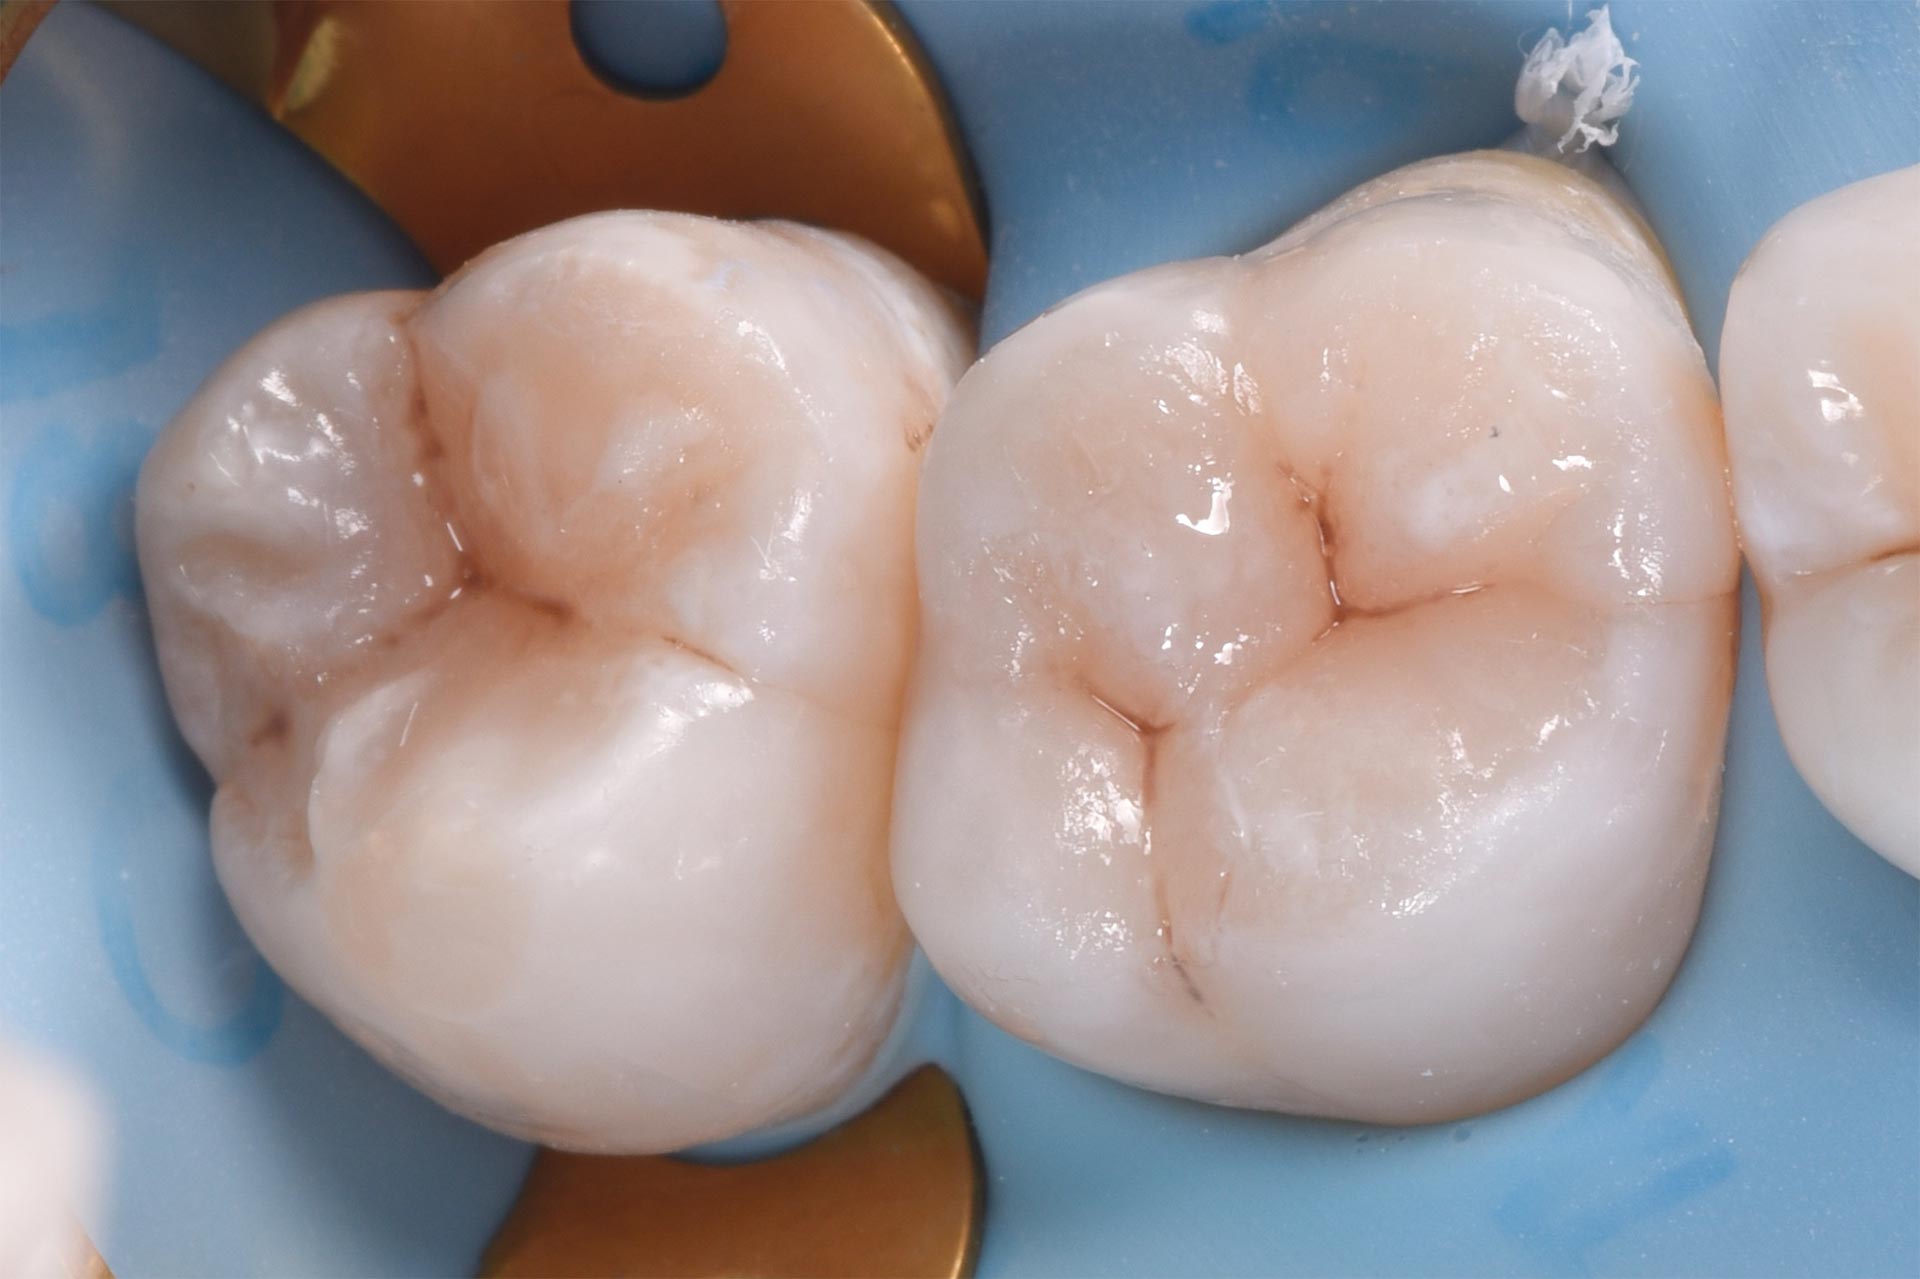
Immediately after restoration with direct composite using a Giomer Composite. Tints are used to create more 3D-effect.
Case 3 by Erik-Jan Muts (@drs.erikjan)
Loose filling
Initial situation with the a loose distal composite.
Click images for enlargement
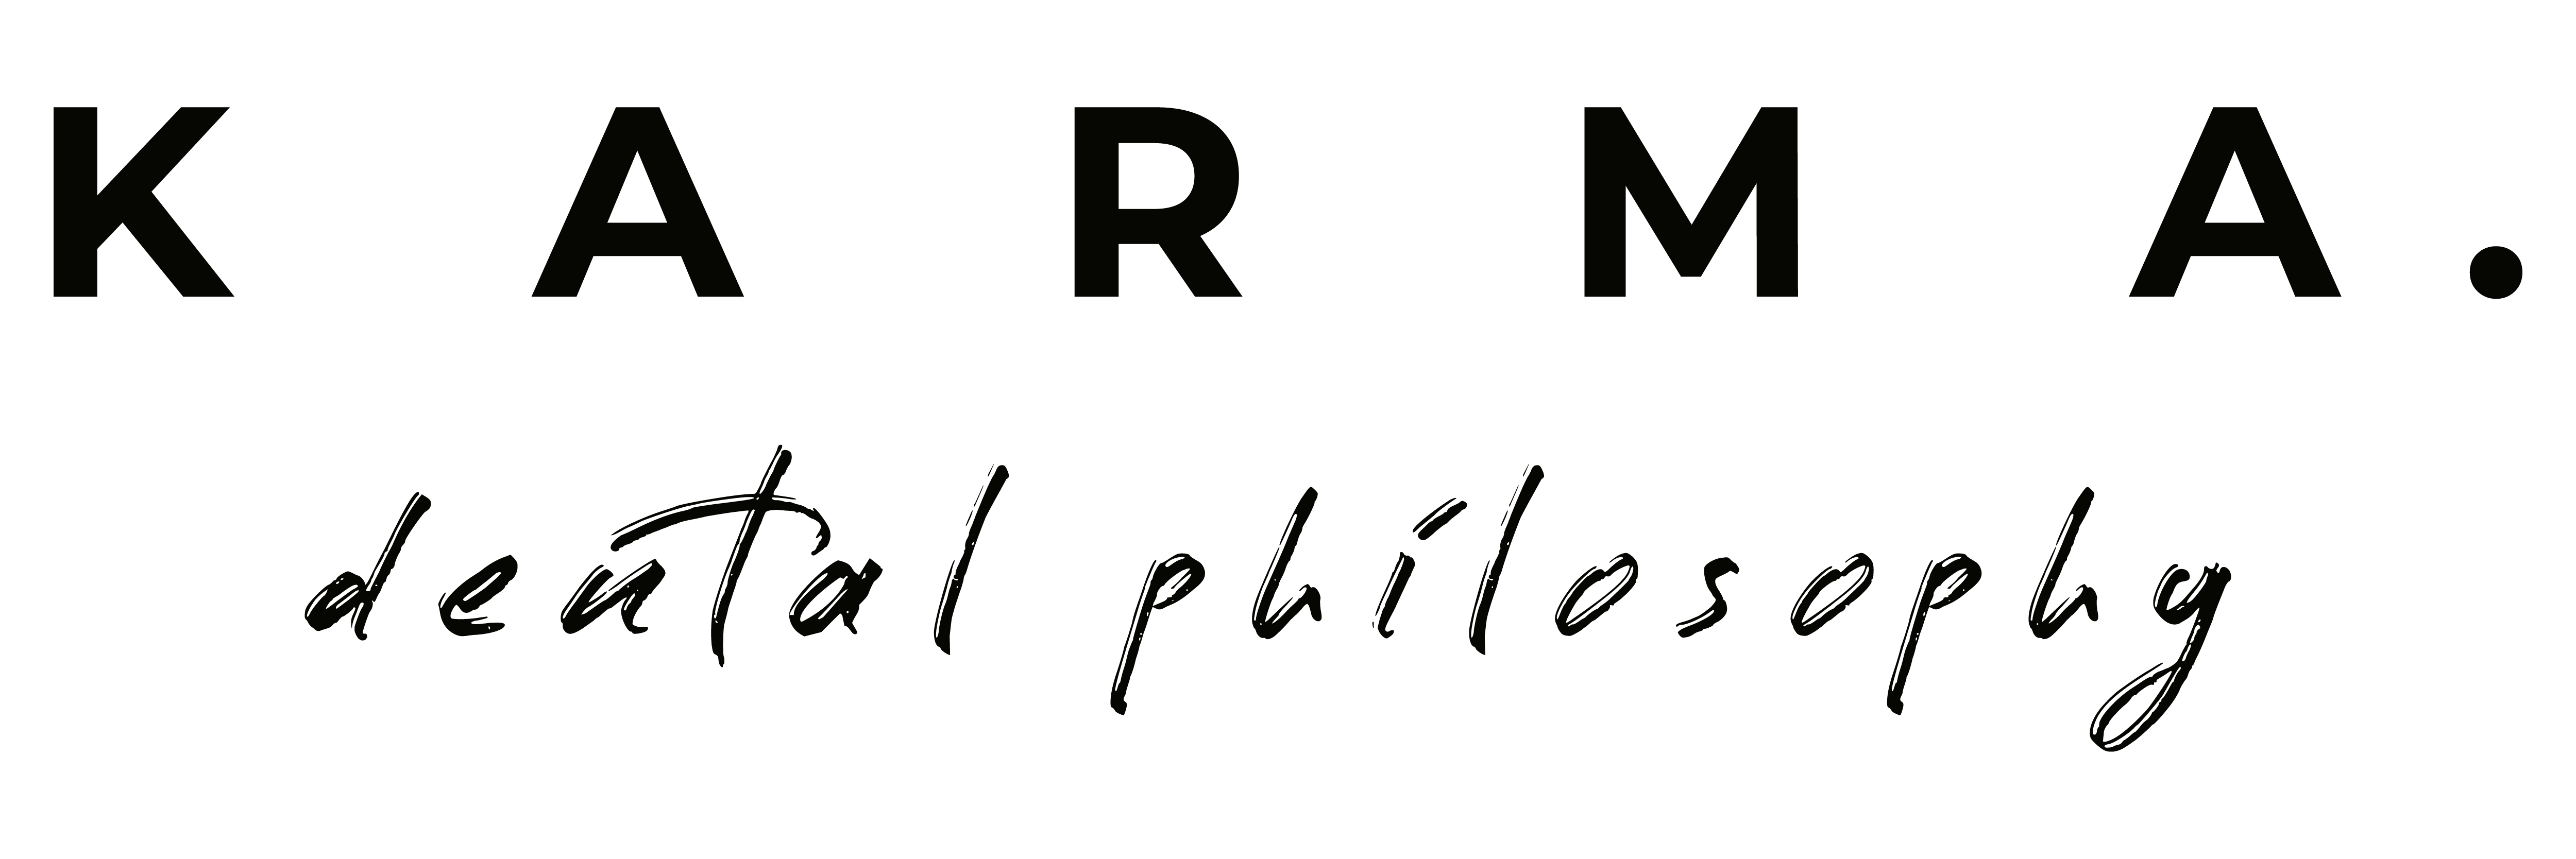
After removing the old composites.
First creating and adhesive layer (IDS) with 3-step bonding system and a flowable composite before matrixing and composite bonding.
Making a class-I out of a class-II with a Giomer Composite.
Dentine replacement with a dentine like composite, overall dentine is A3.5 in human teeth.
Recreating the cusps with a enamel like composite.

Using tints to create a 3D-effect.

Case 4 by Erik-Jan Muts (@drs.erikjan)
Copy & Paste
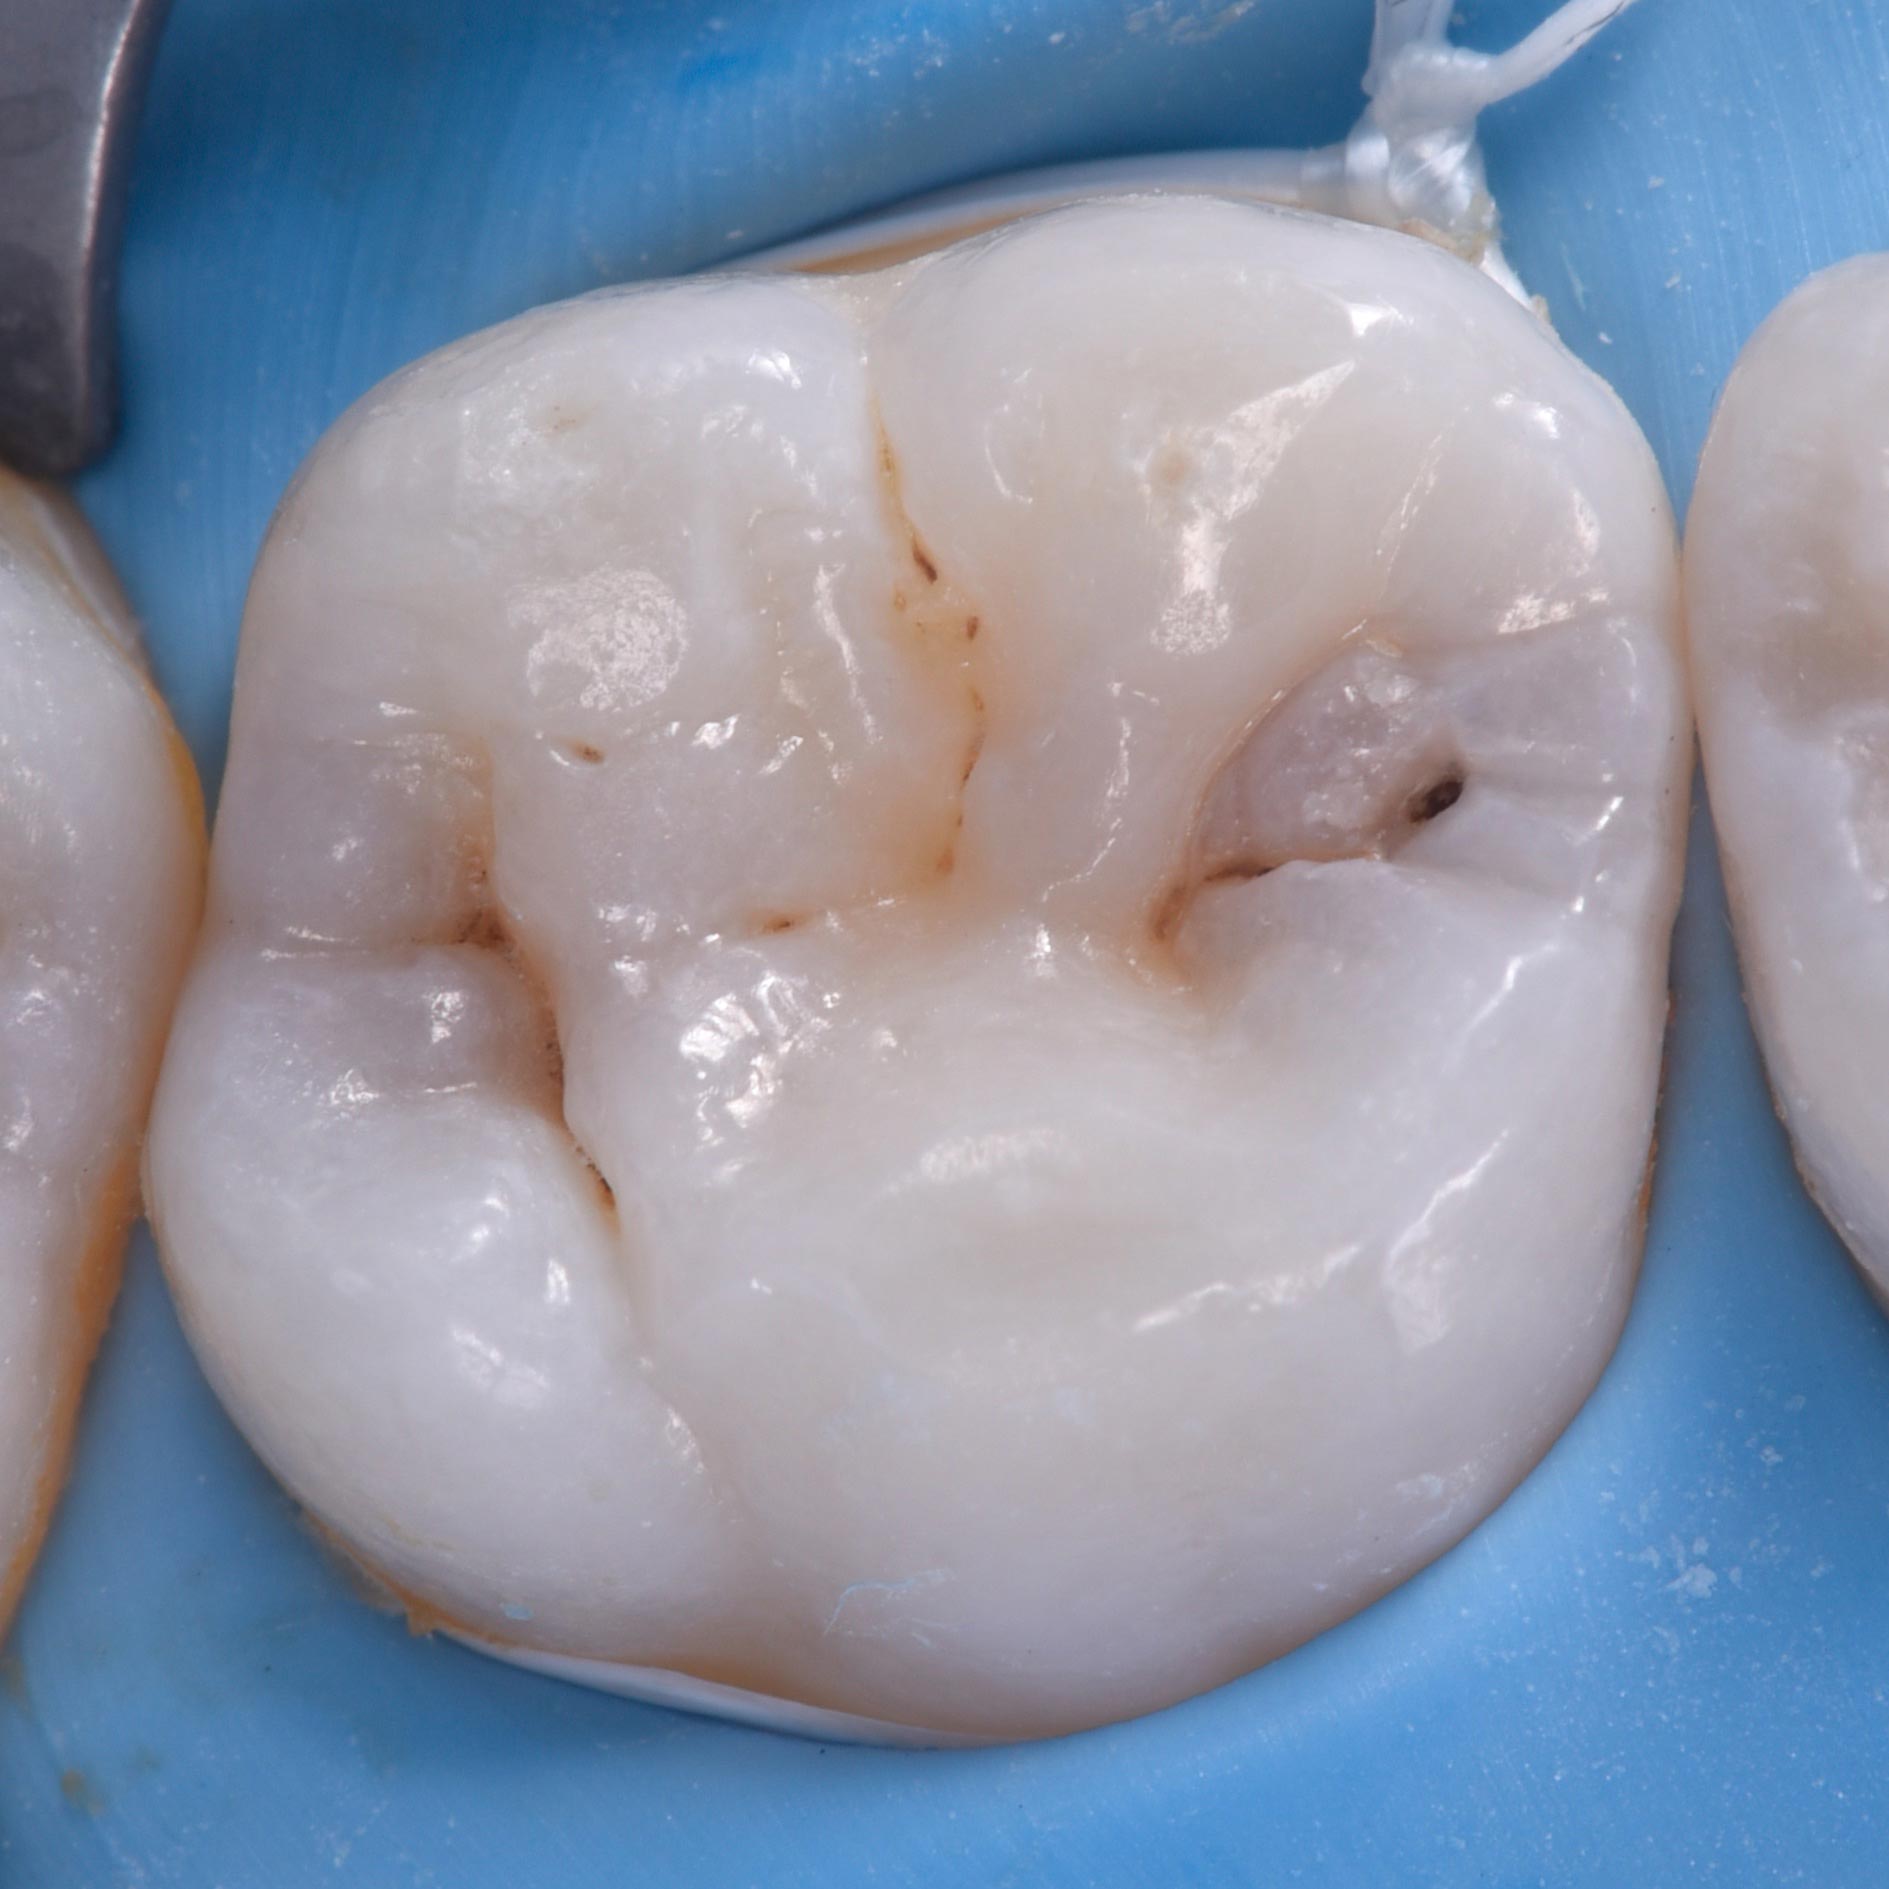
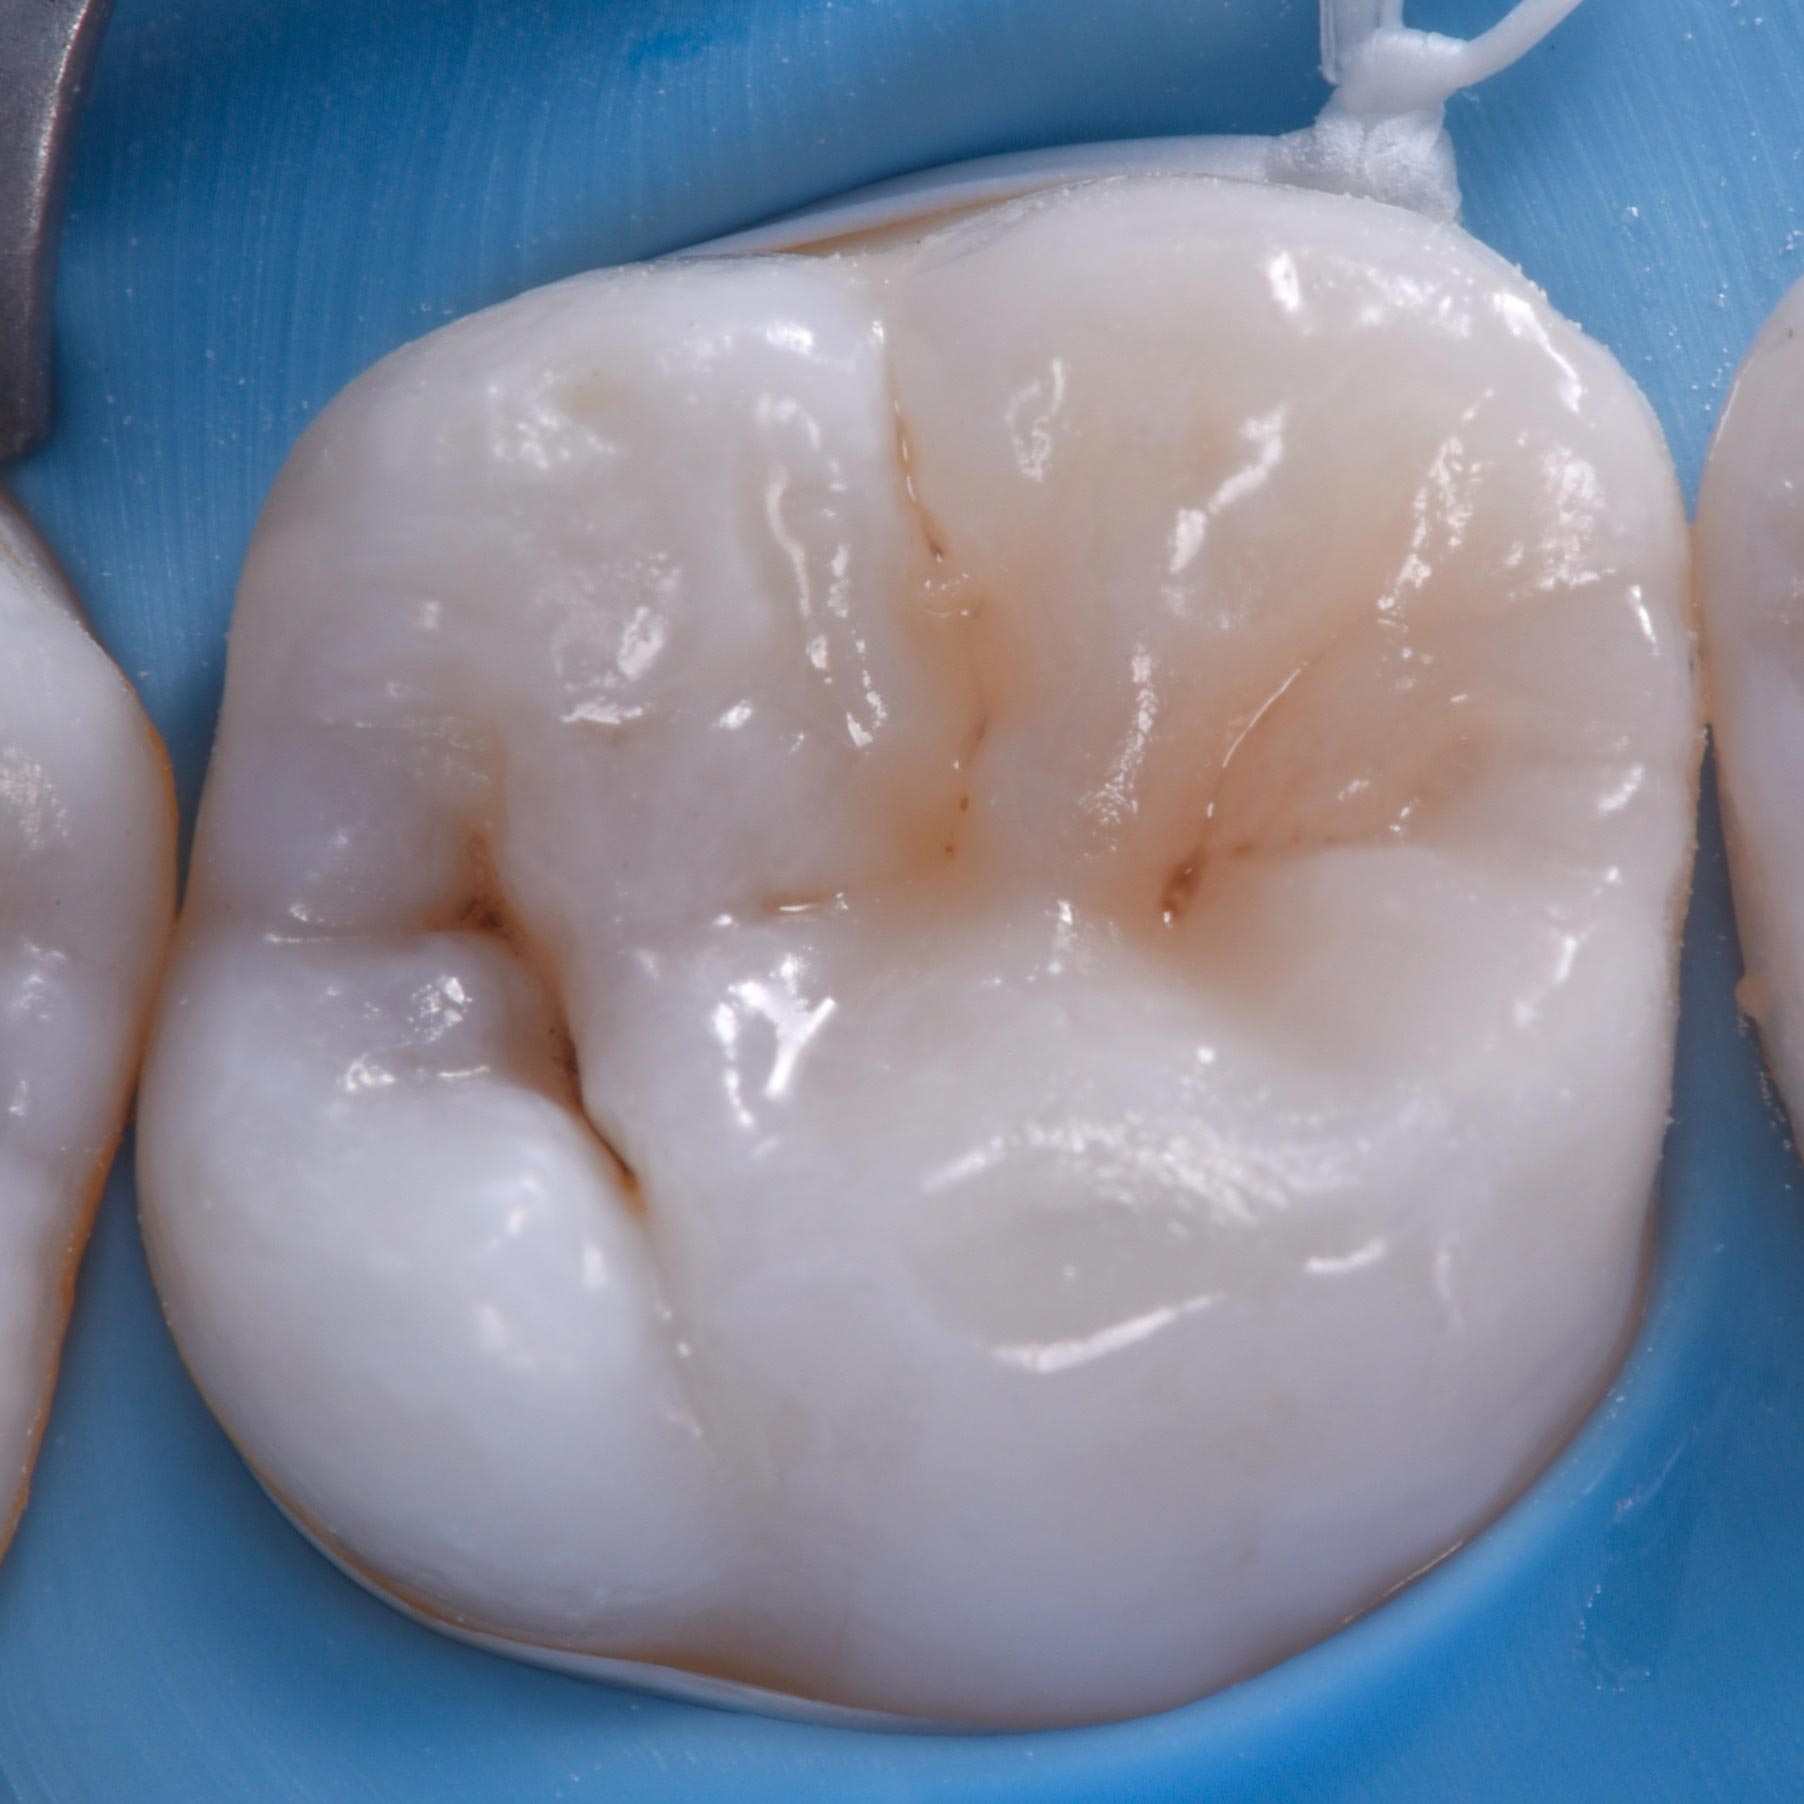
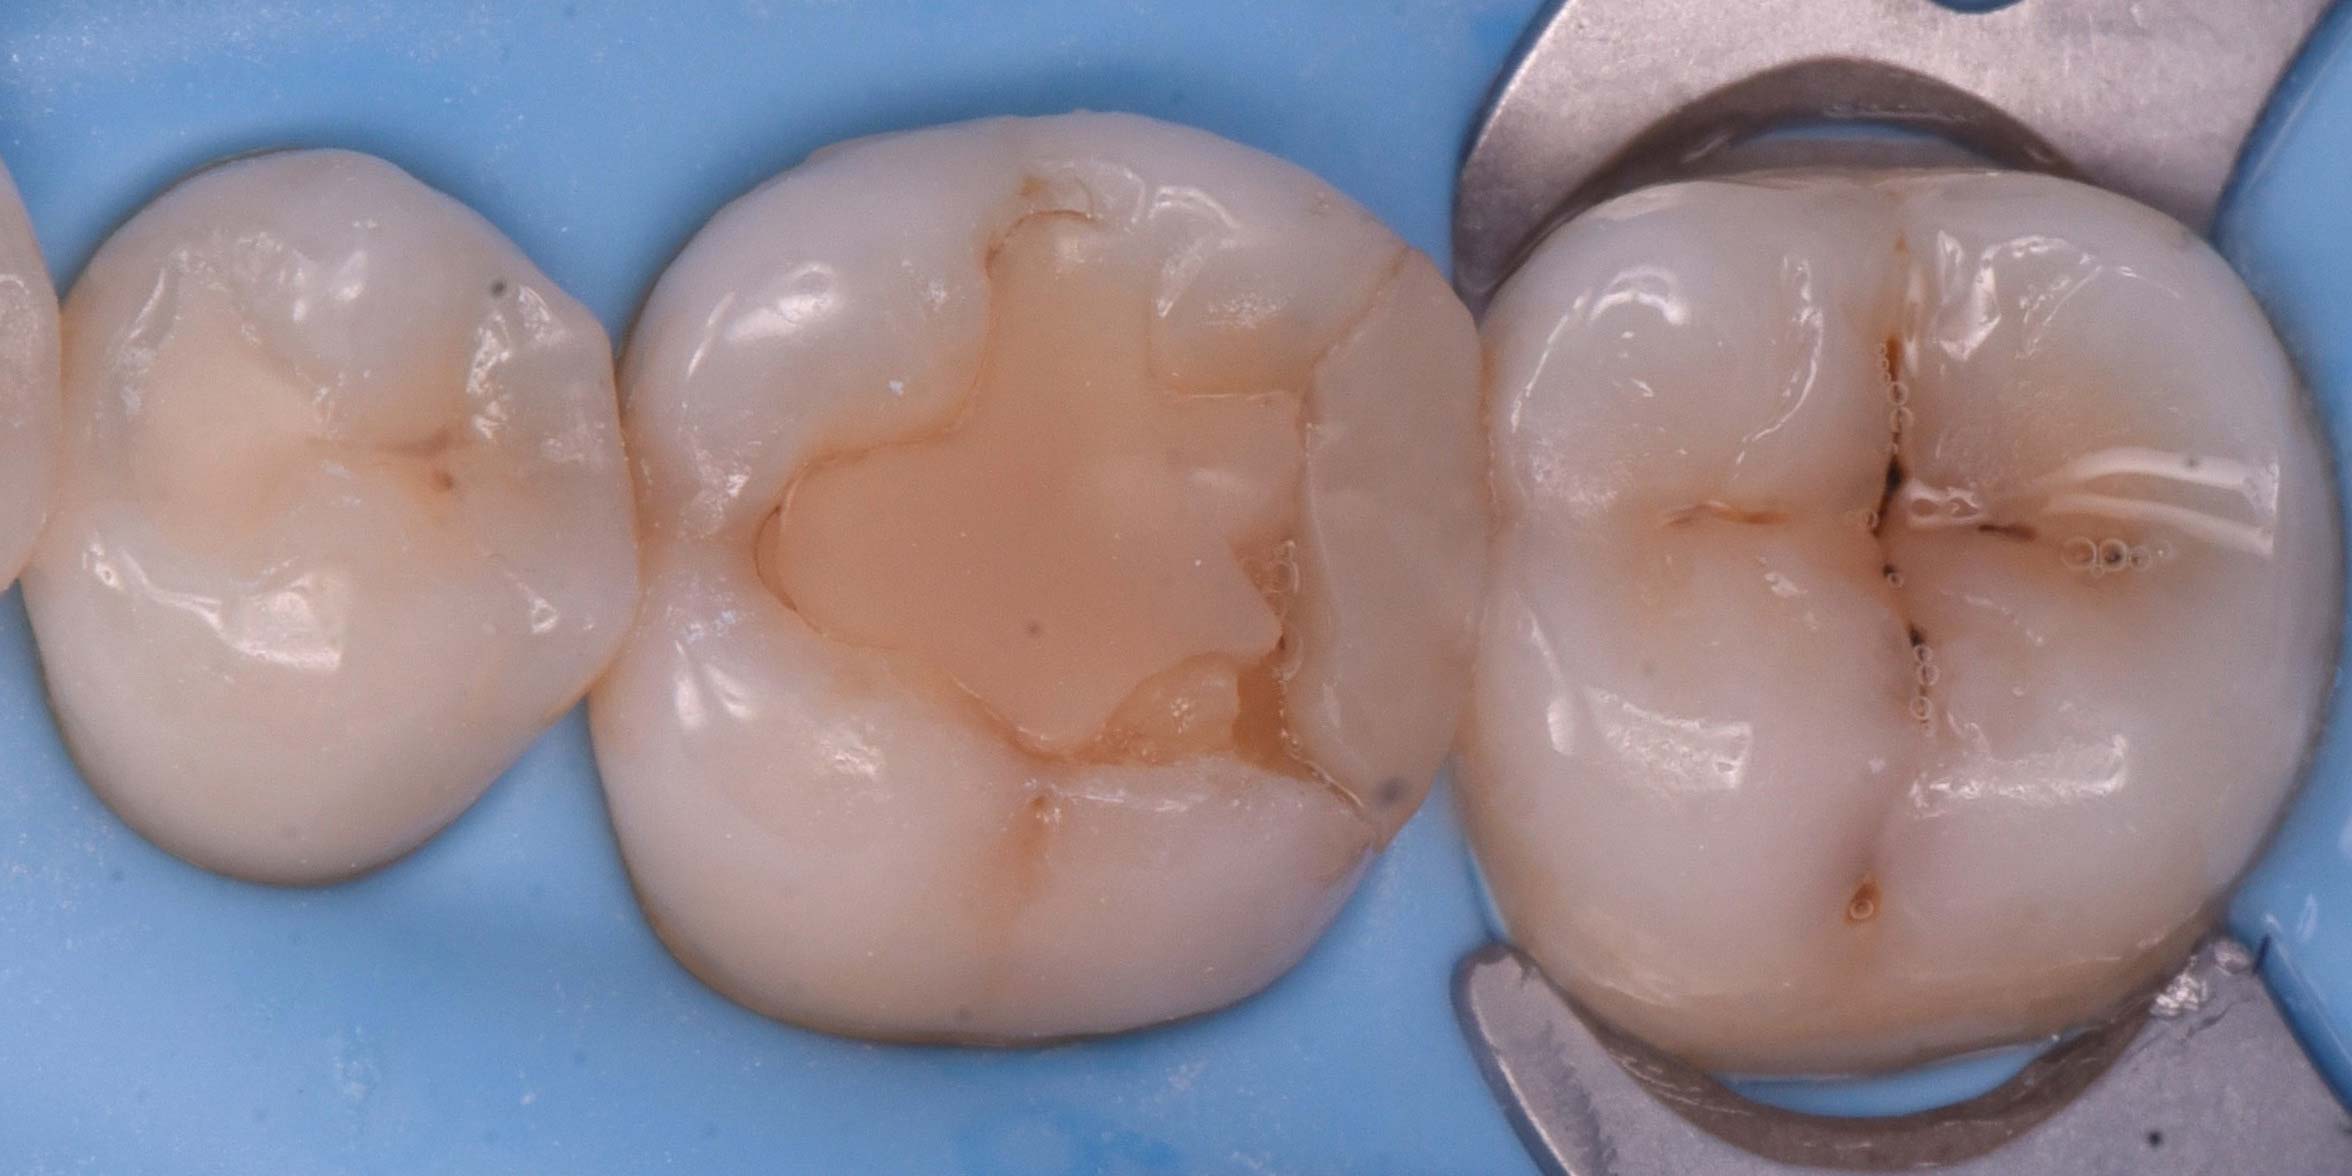
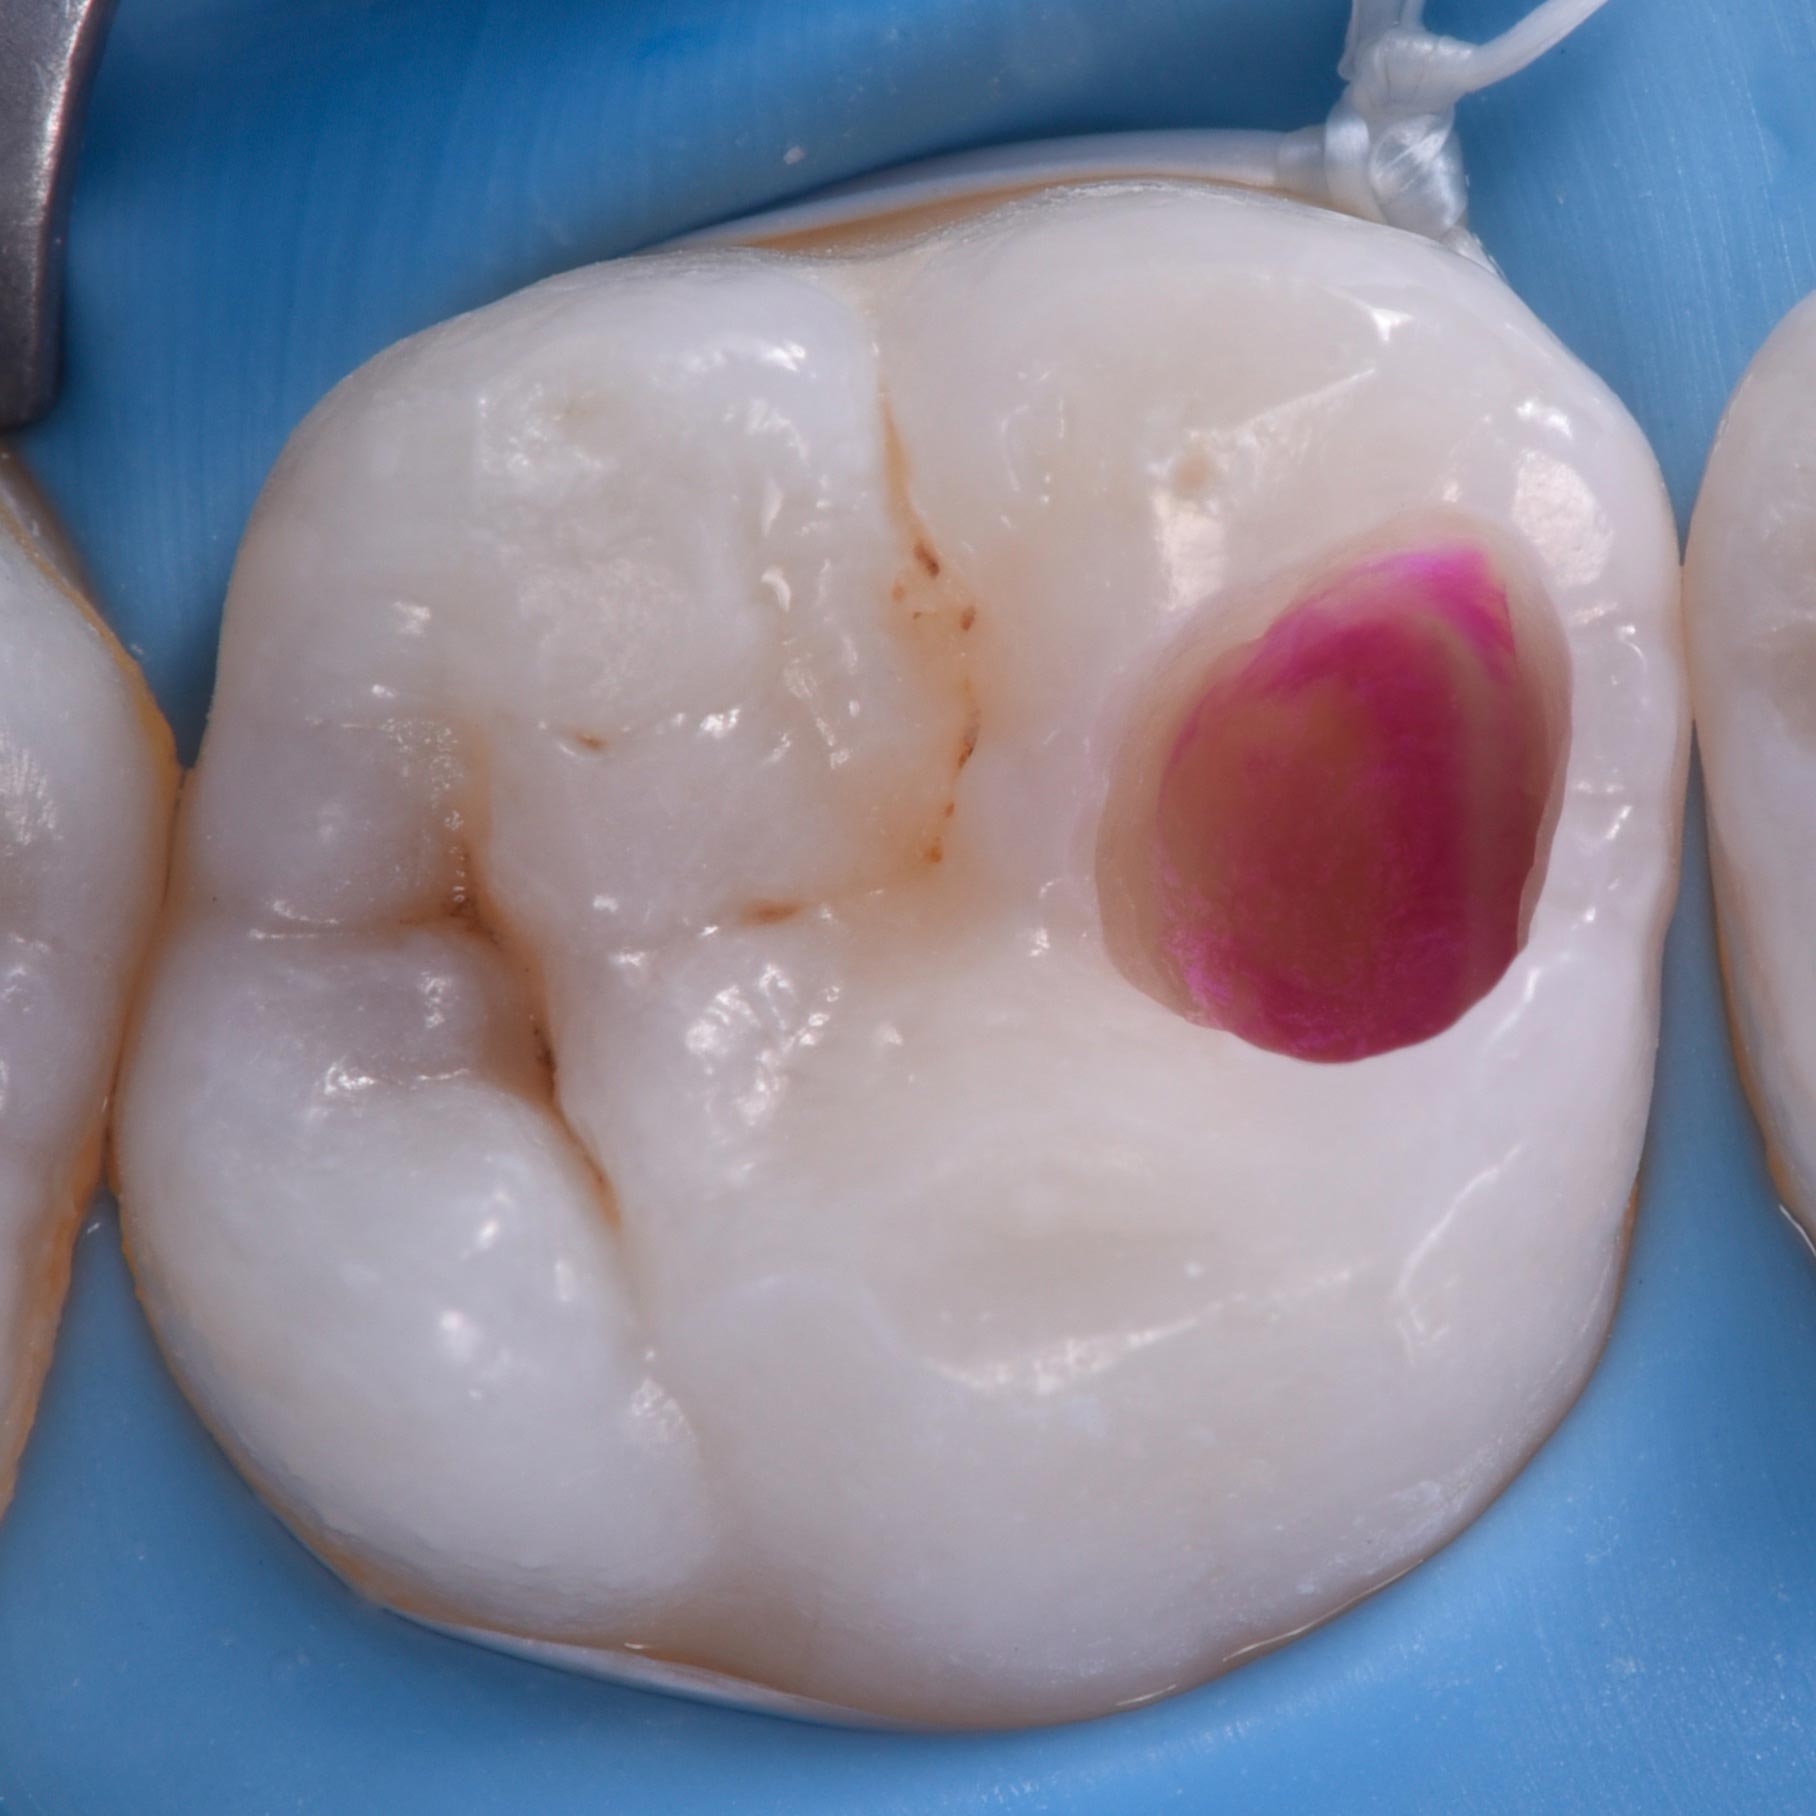
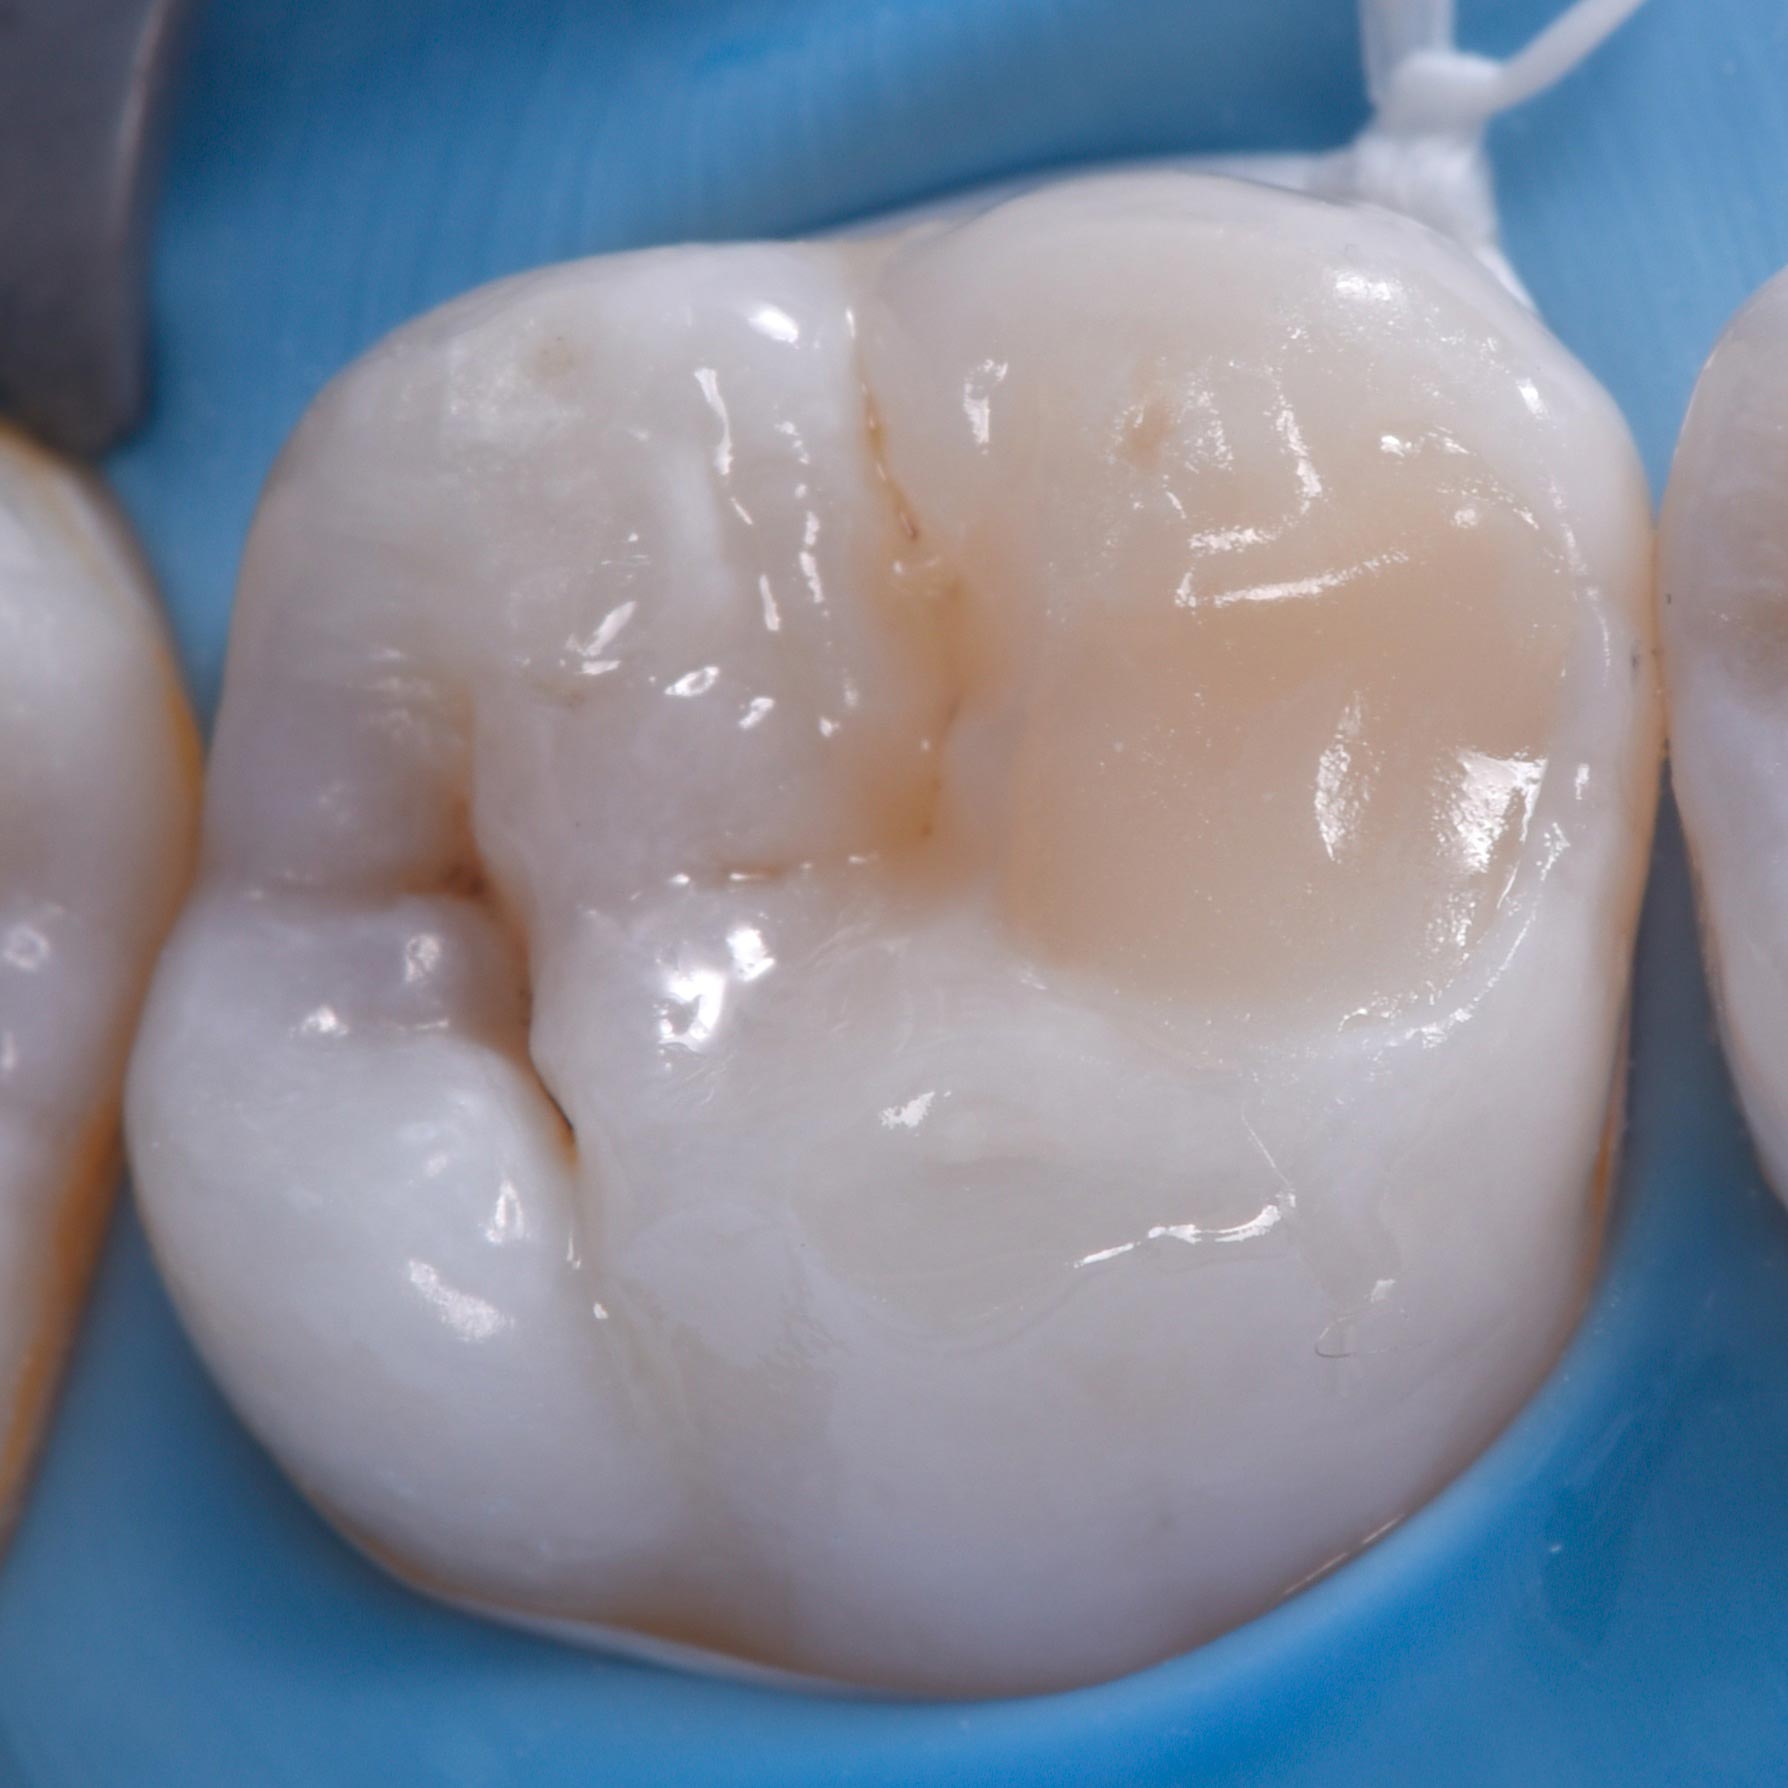
Initial situation with caries in the mesial part of the first molar.
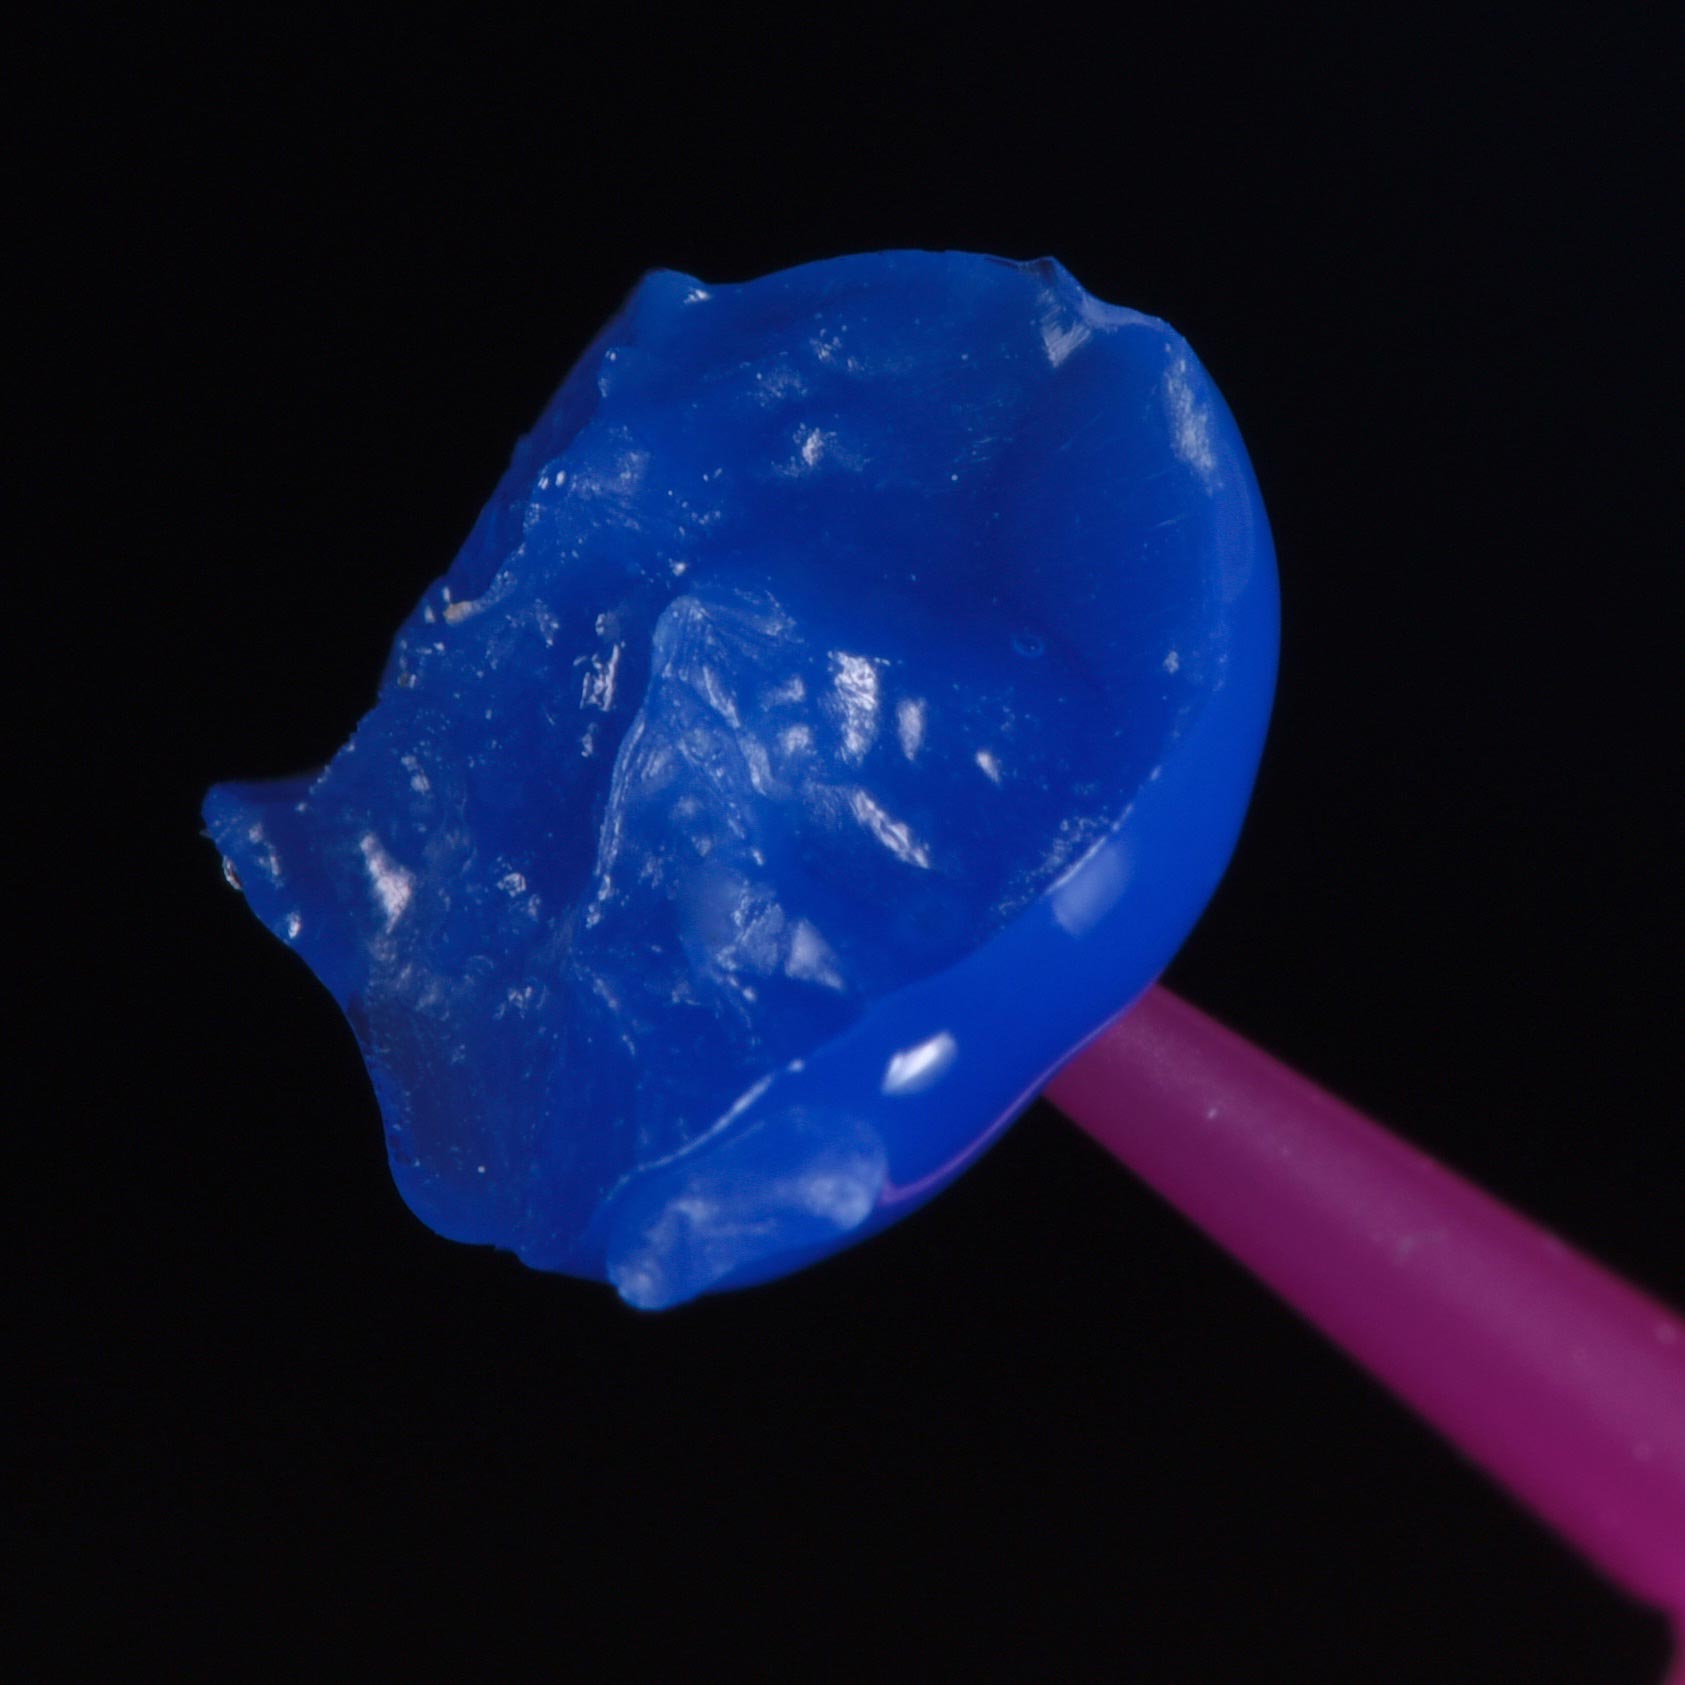
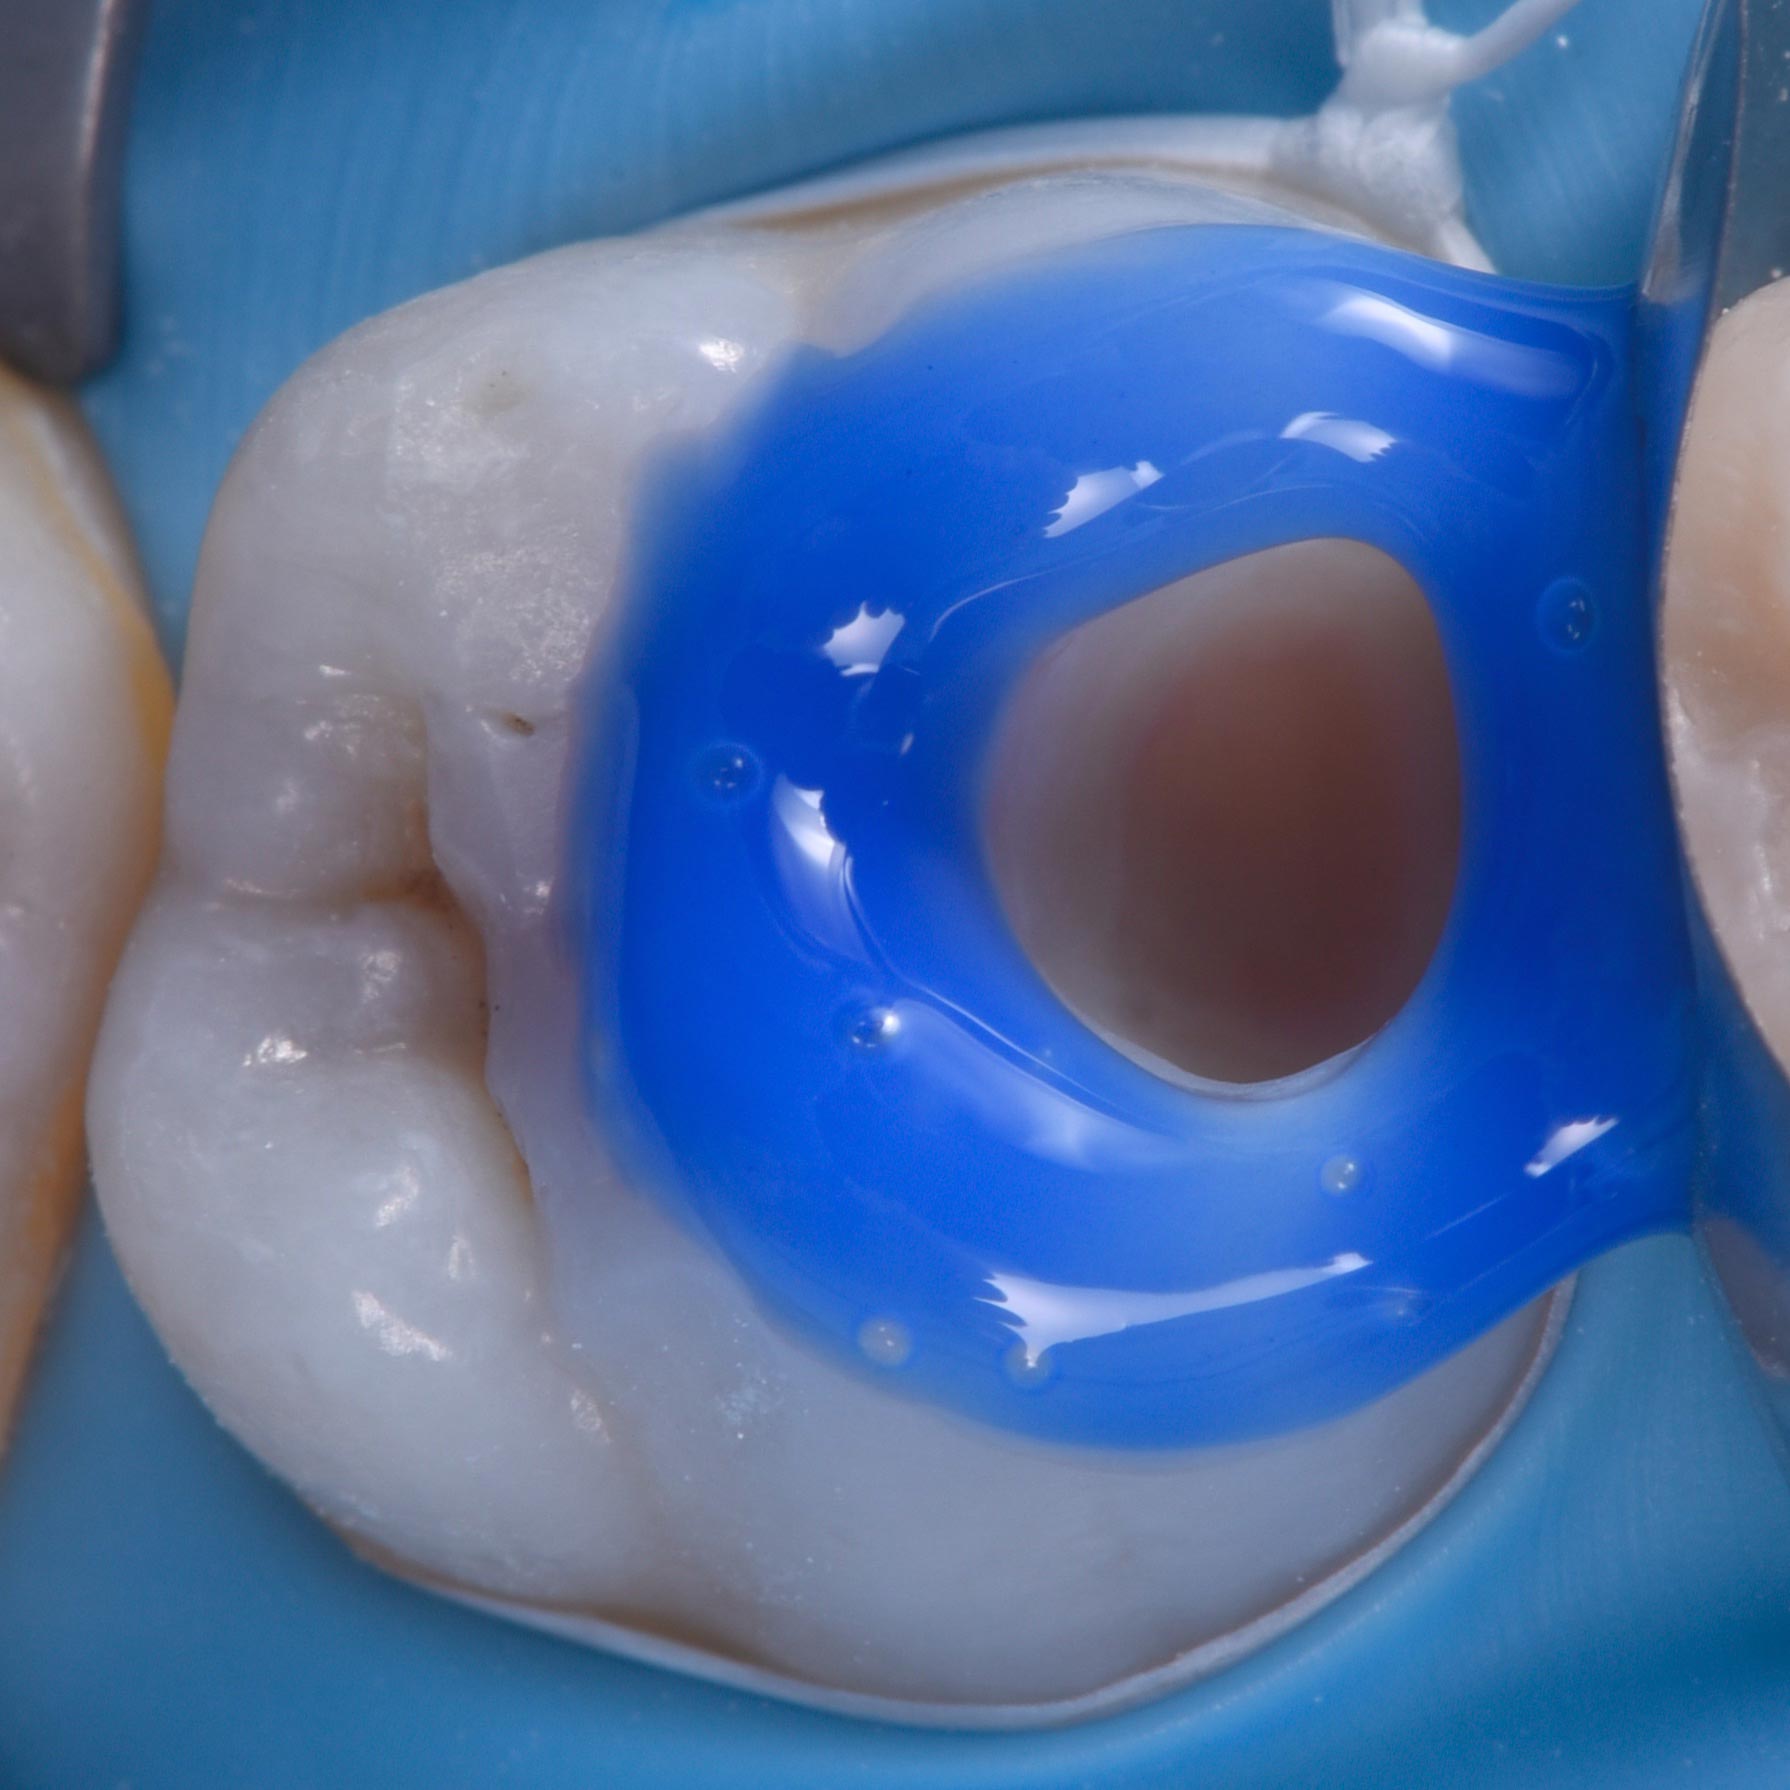
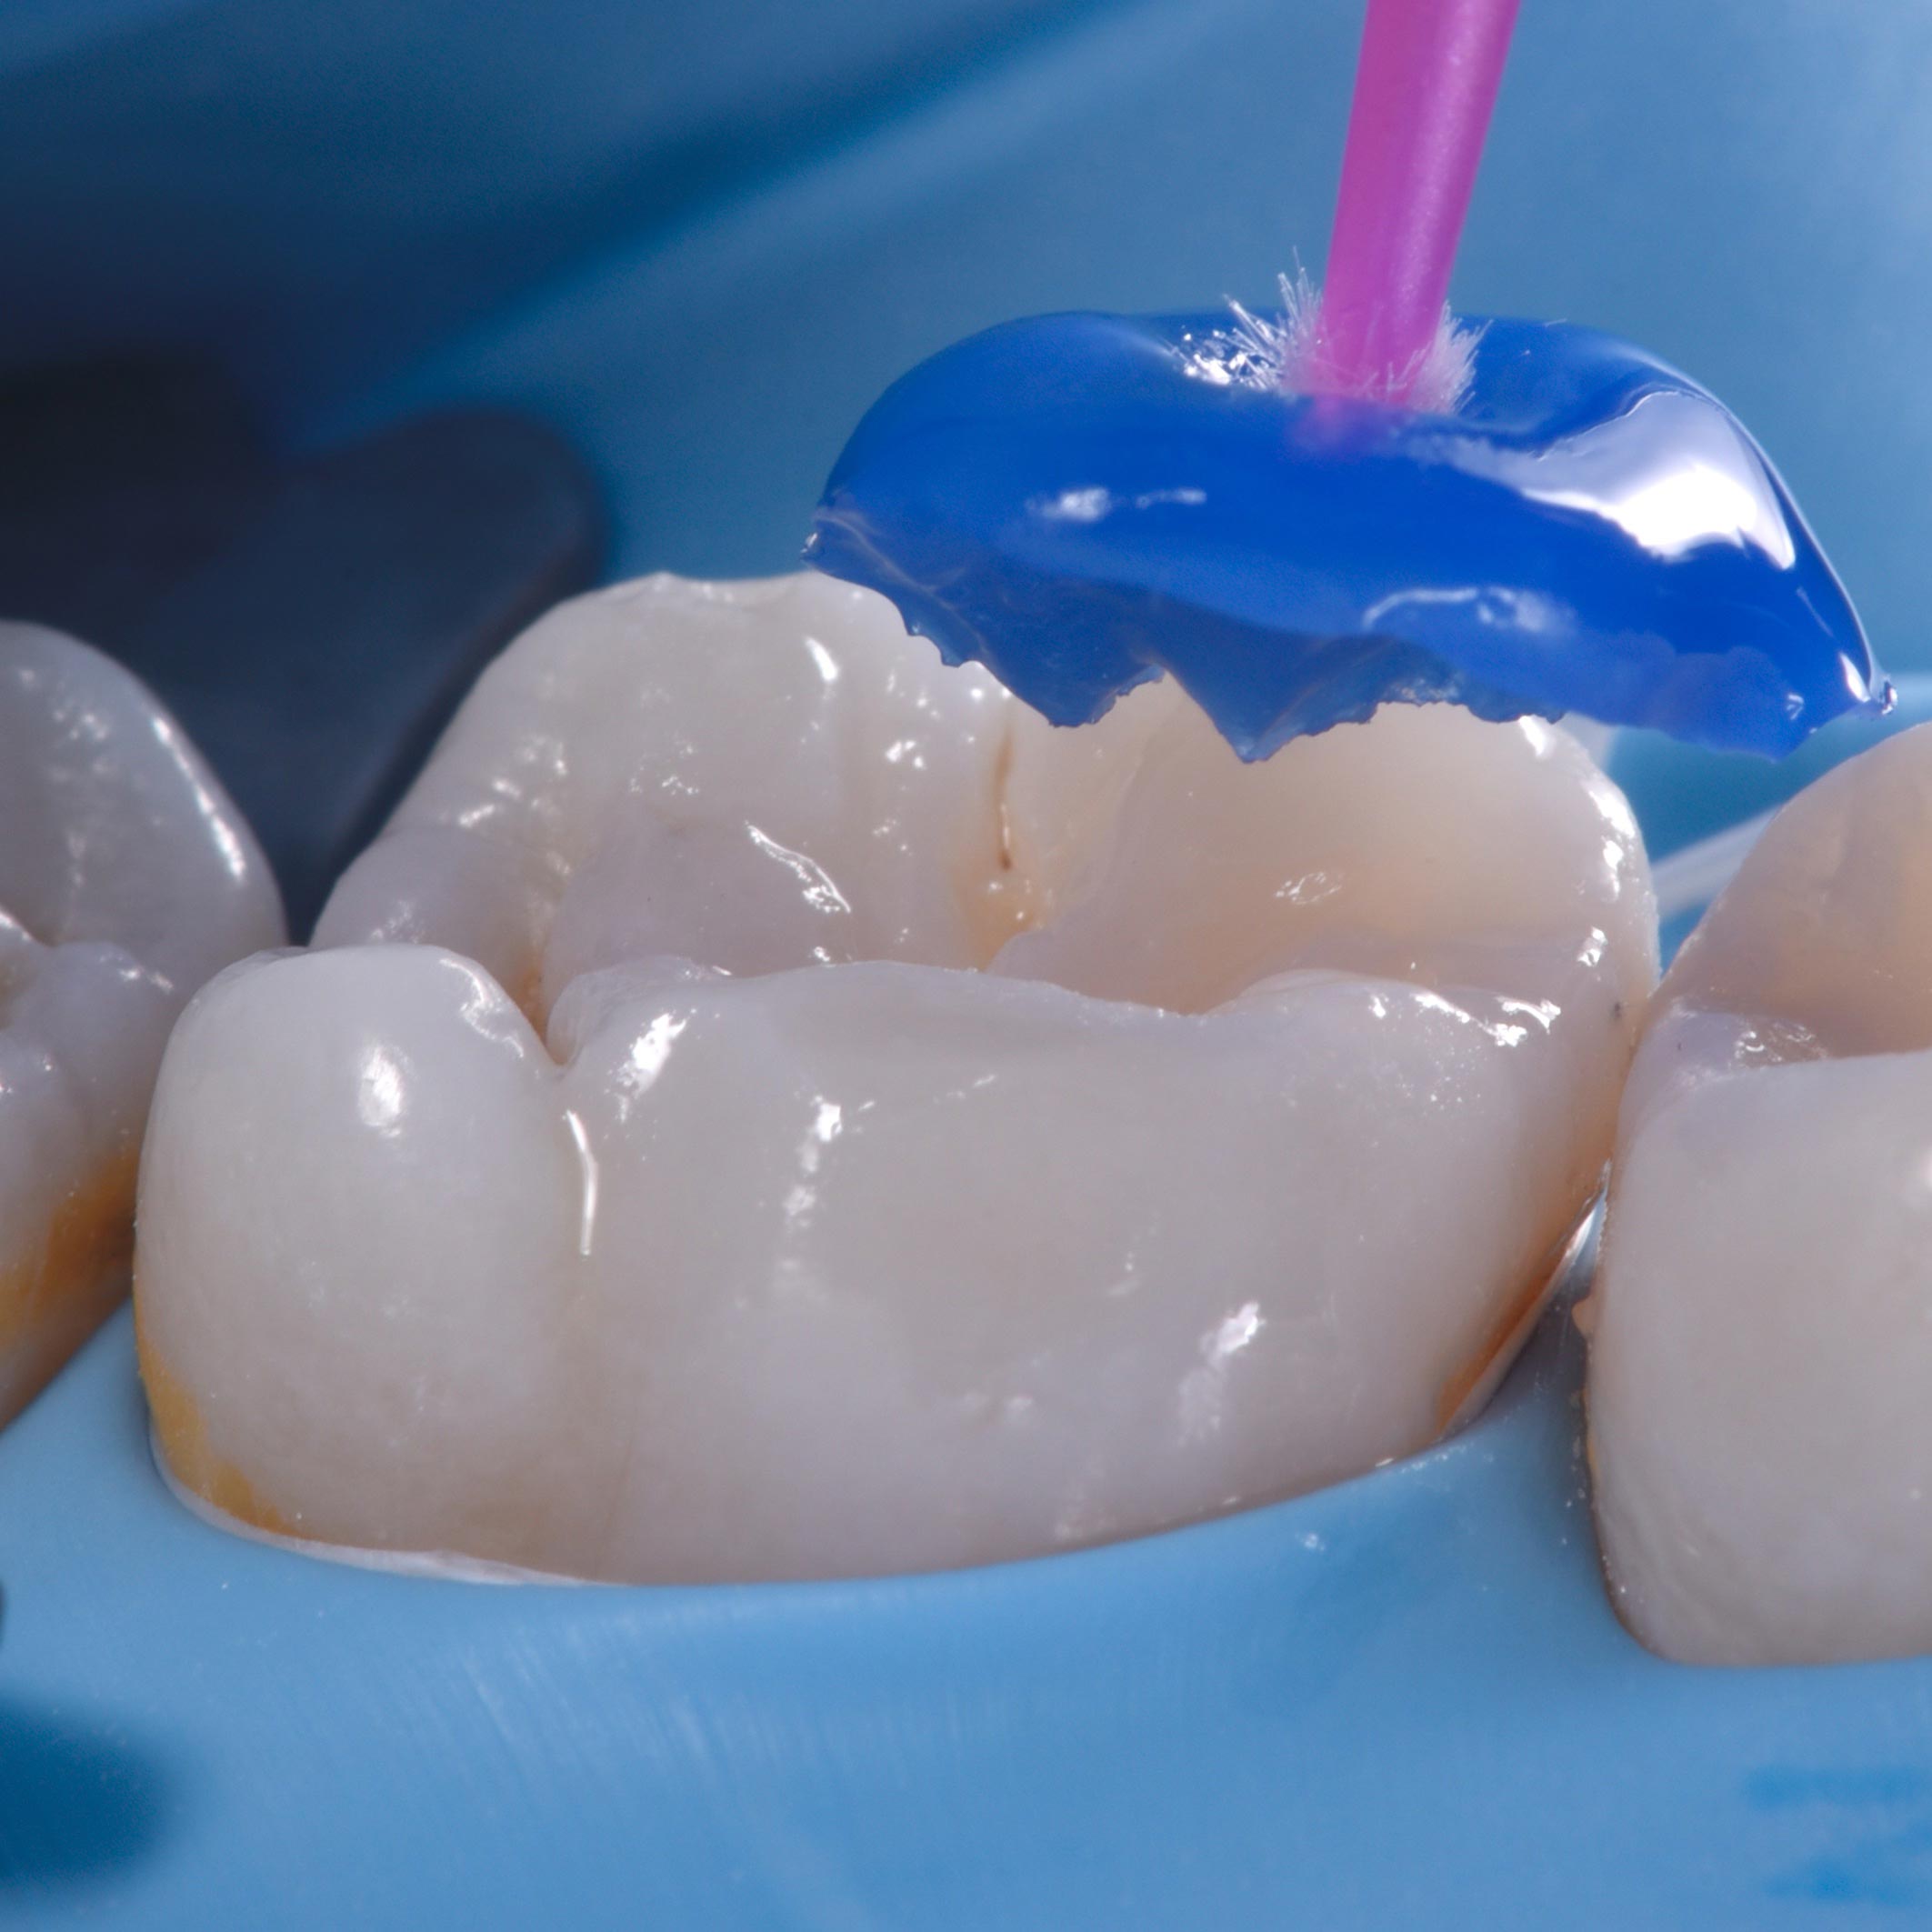
Creating a stamp with a blue flowable composite like material and a micro-brush.
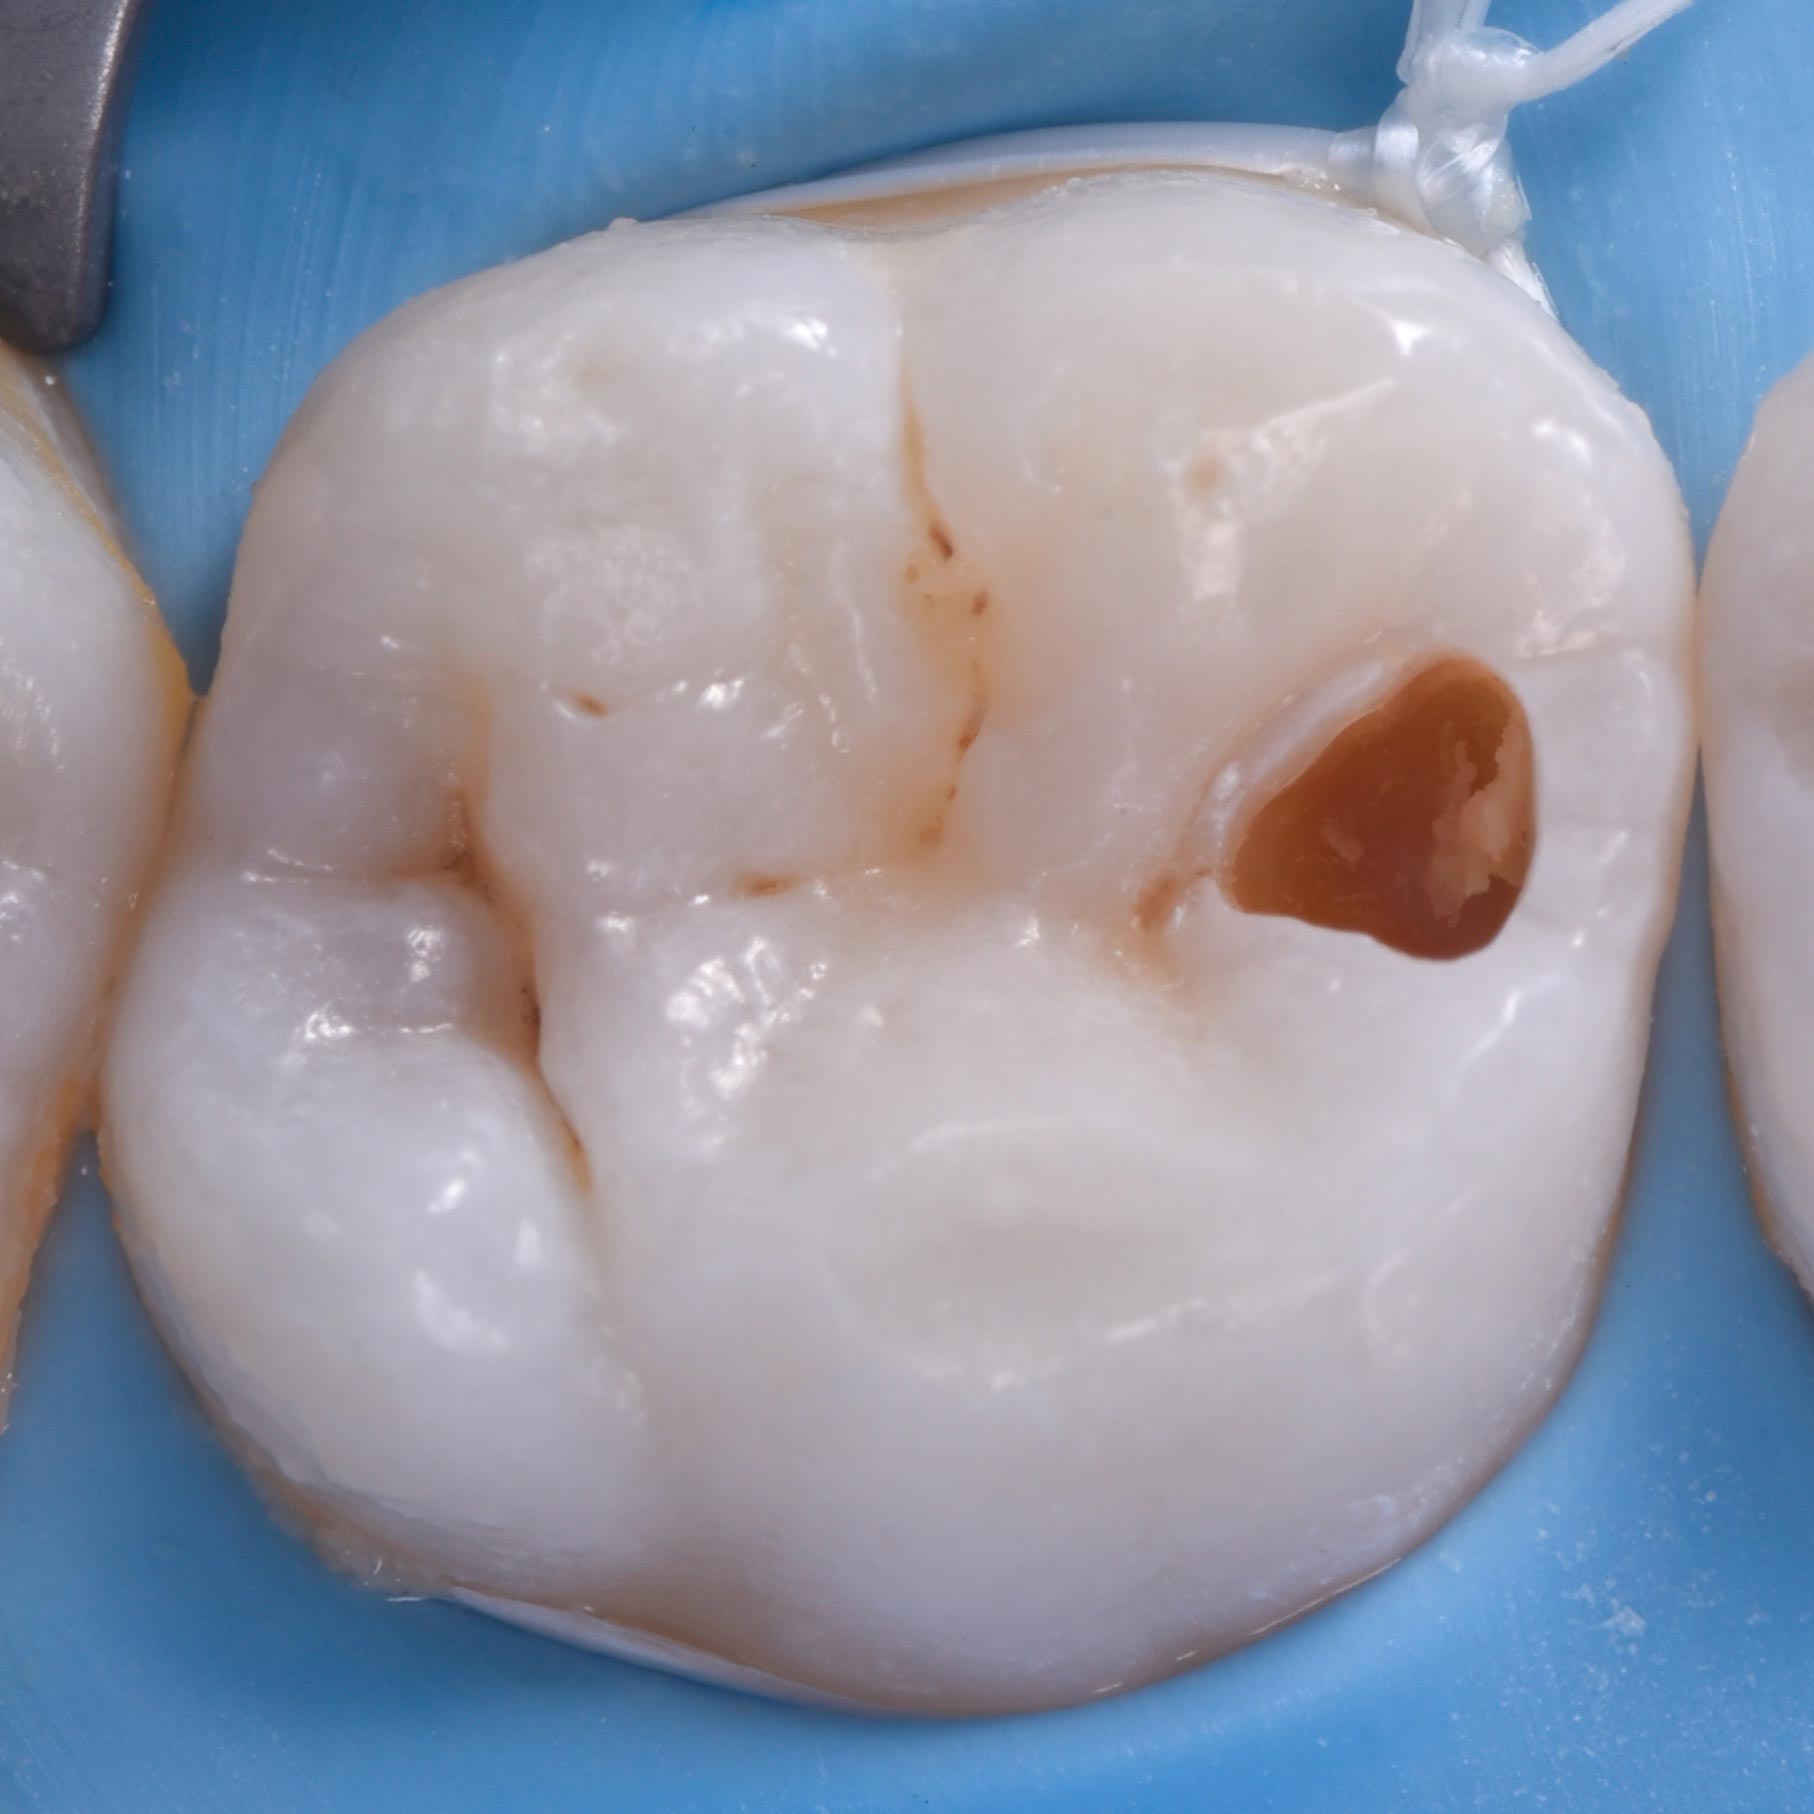
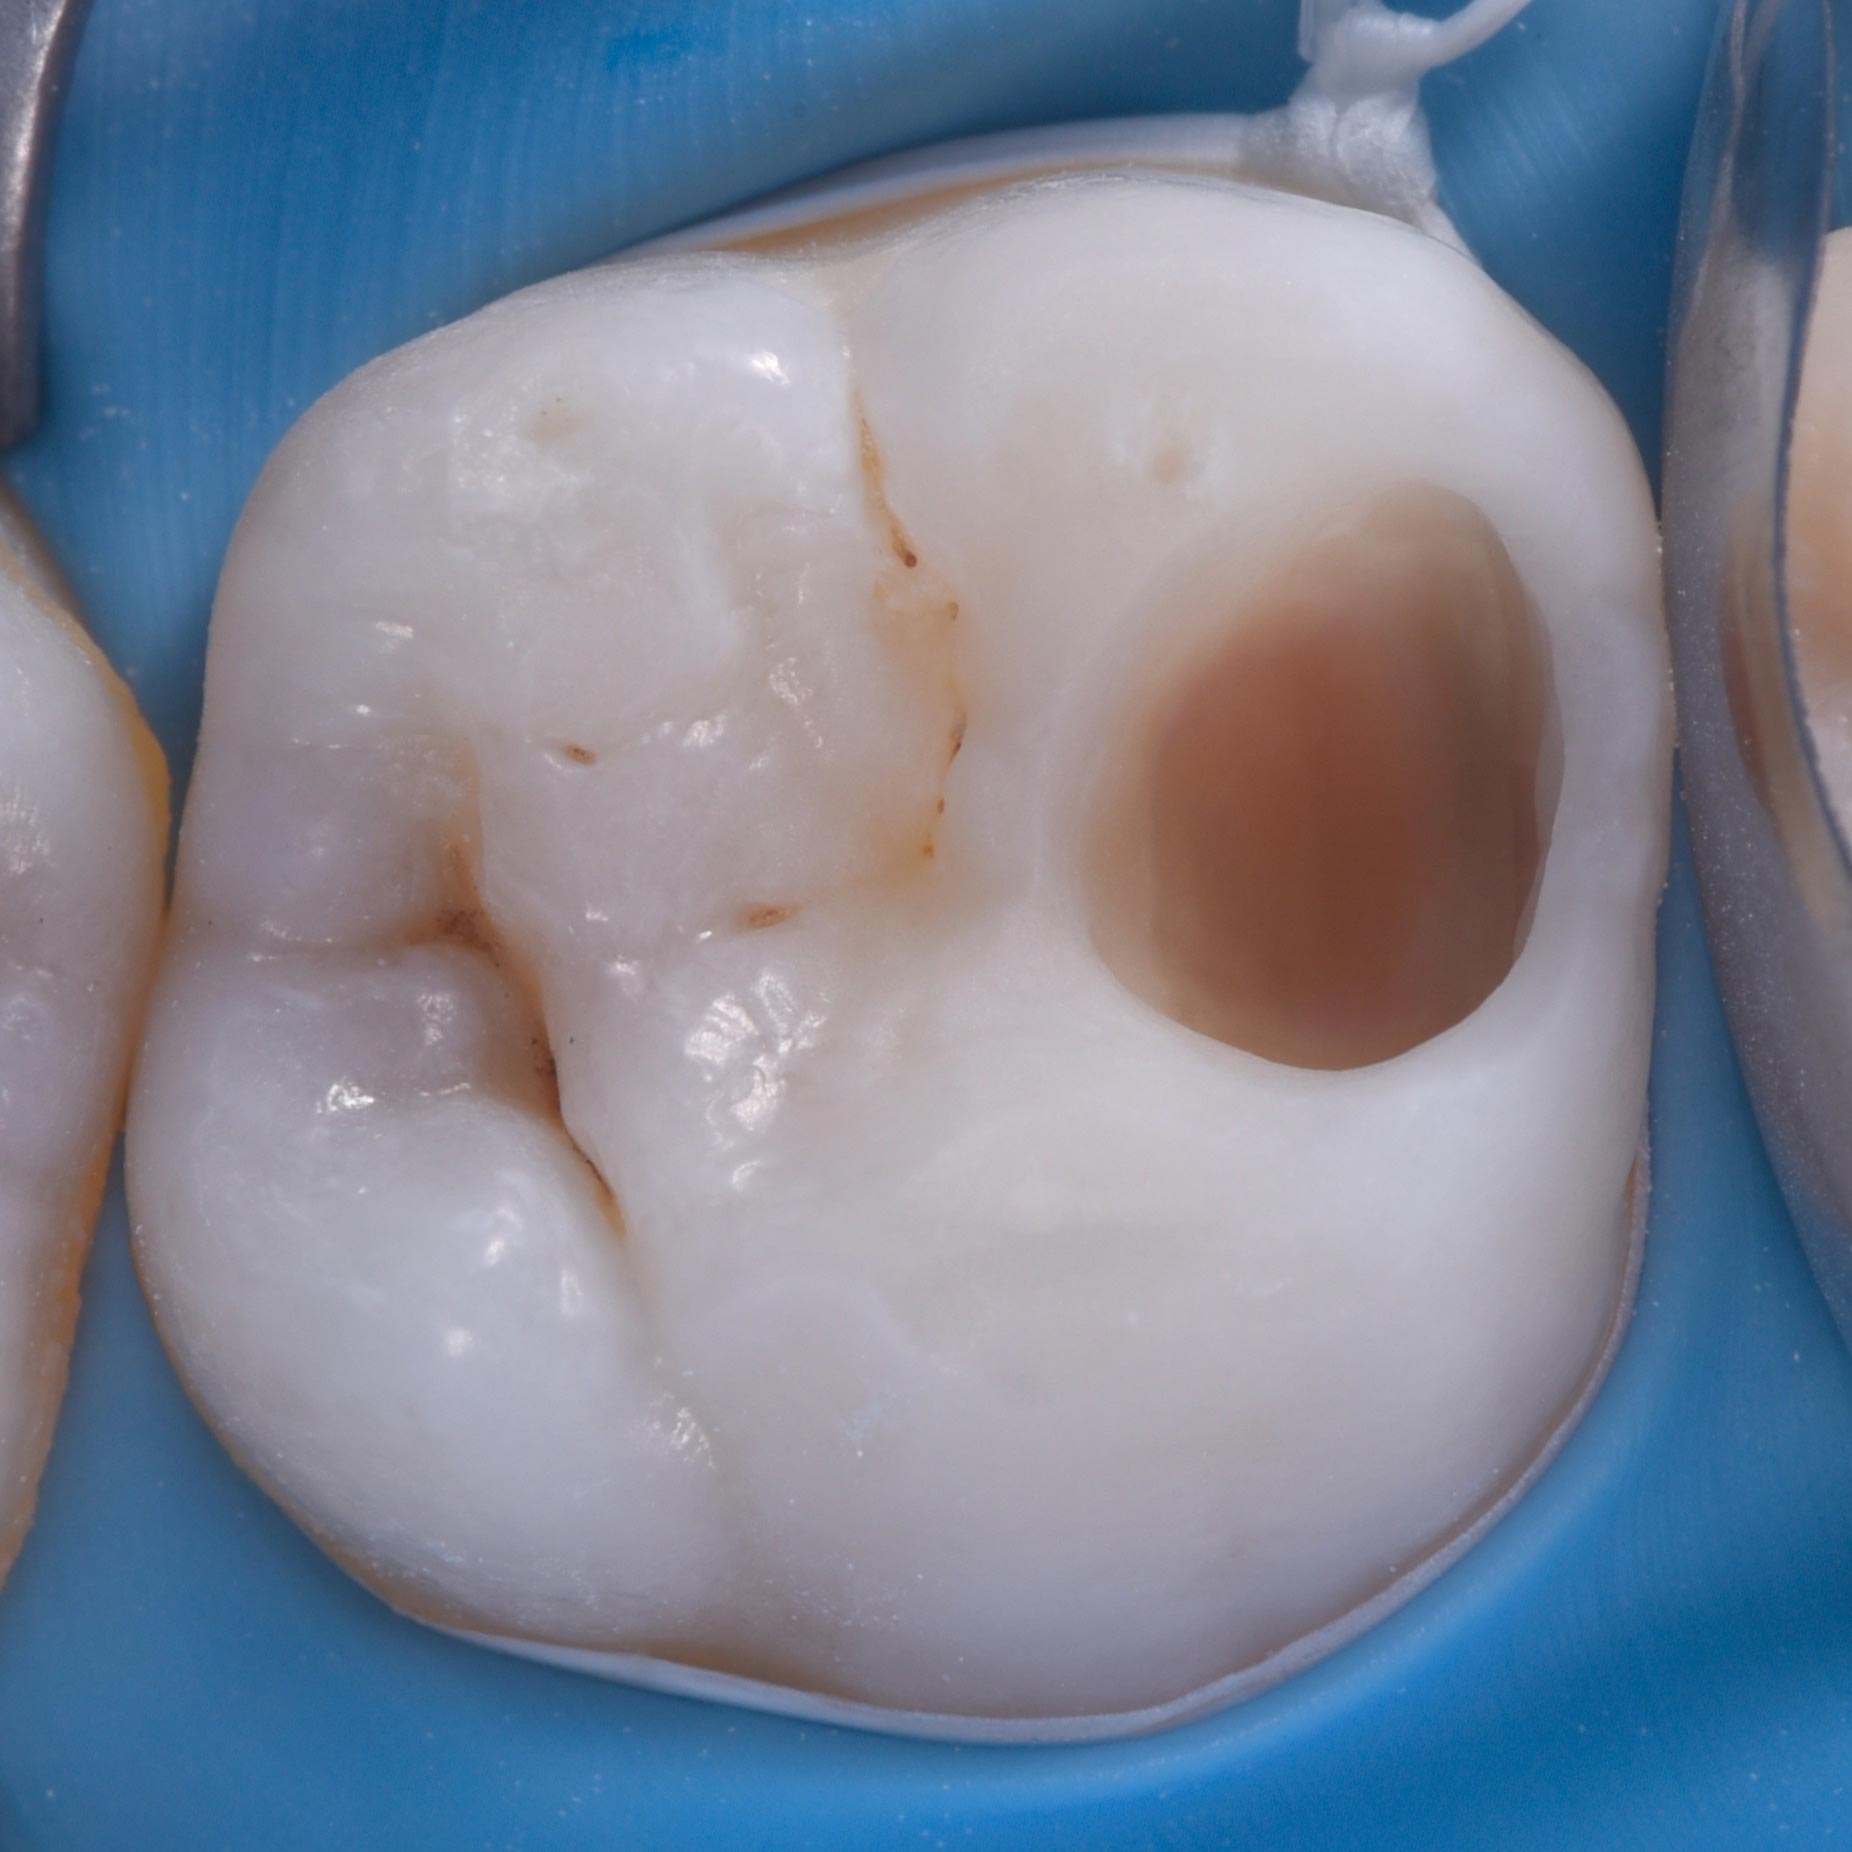
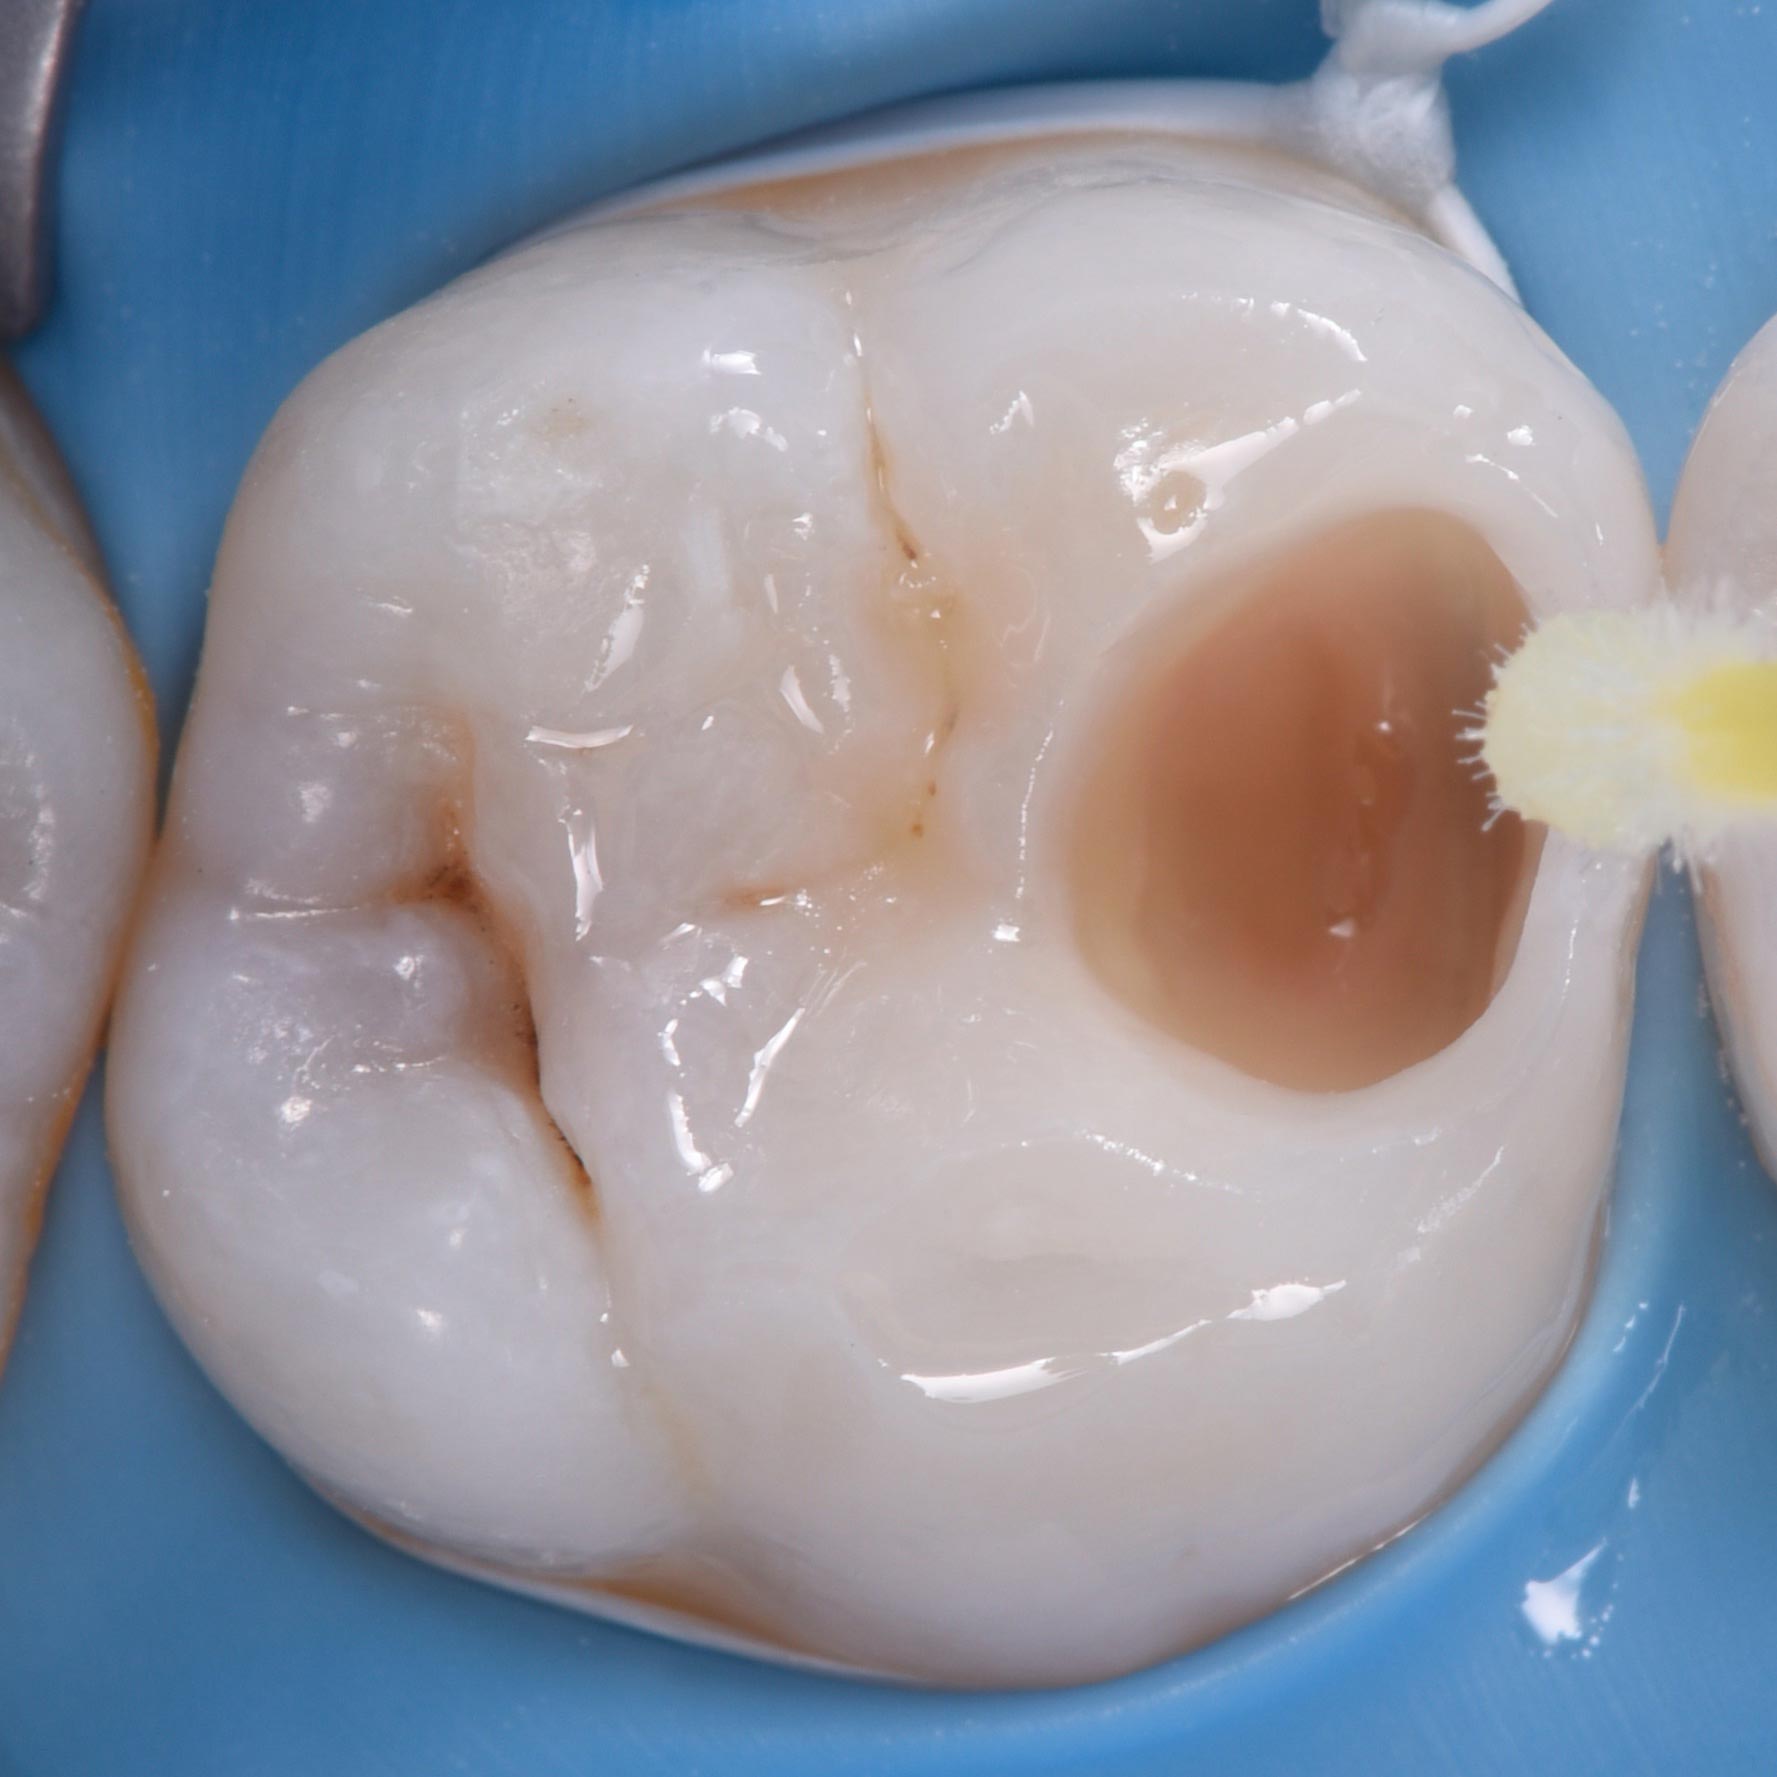
Opening the decay, trying to be minimal invasive.
Using caries detectior dye to double check the dentin-enamel junction.
Cleaning with air-abrasion 29um aluminium oxide.
Related products: AquaCare aluminium oxide 29
Etching enamel a twice as long as dentine with 35% phosphoric acid.
Using a 3-step bonding system.
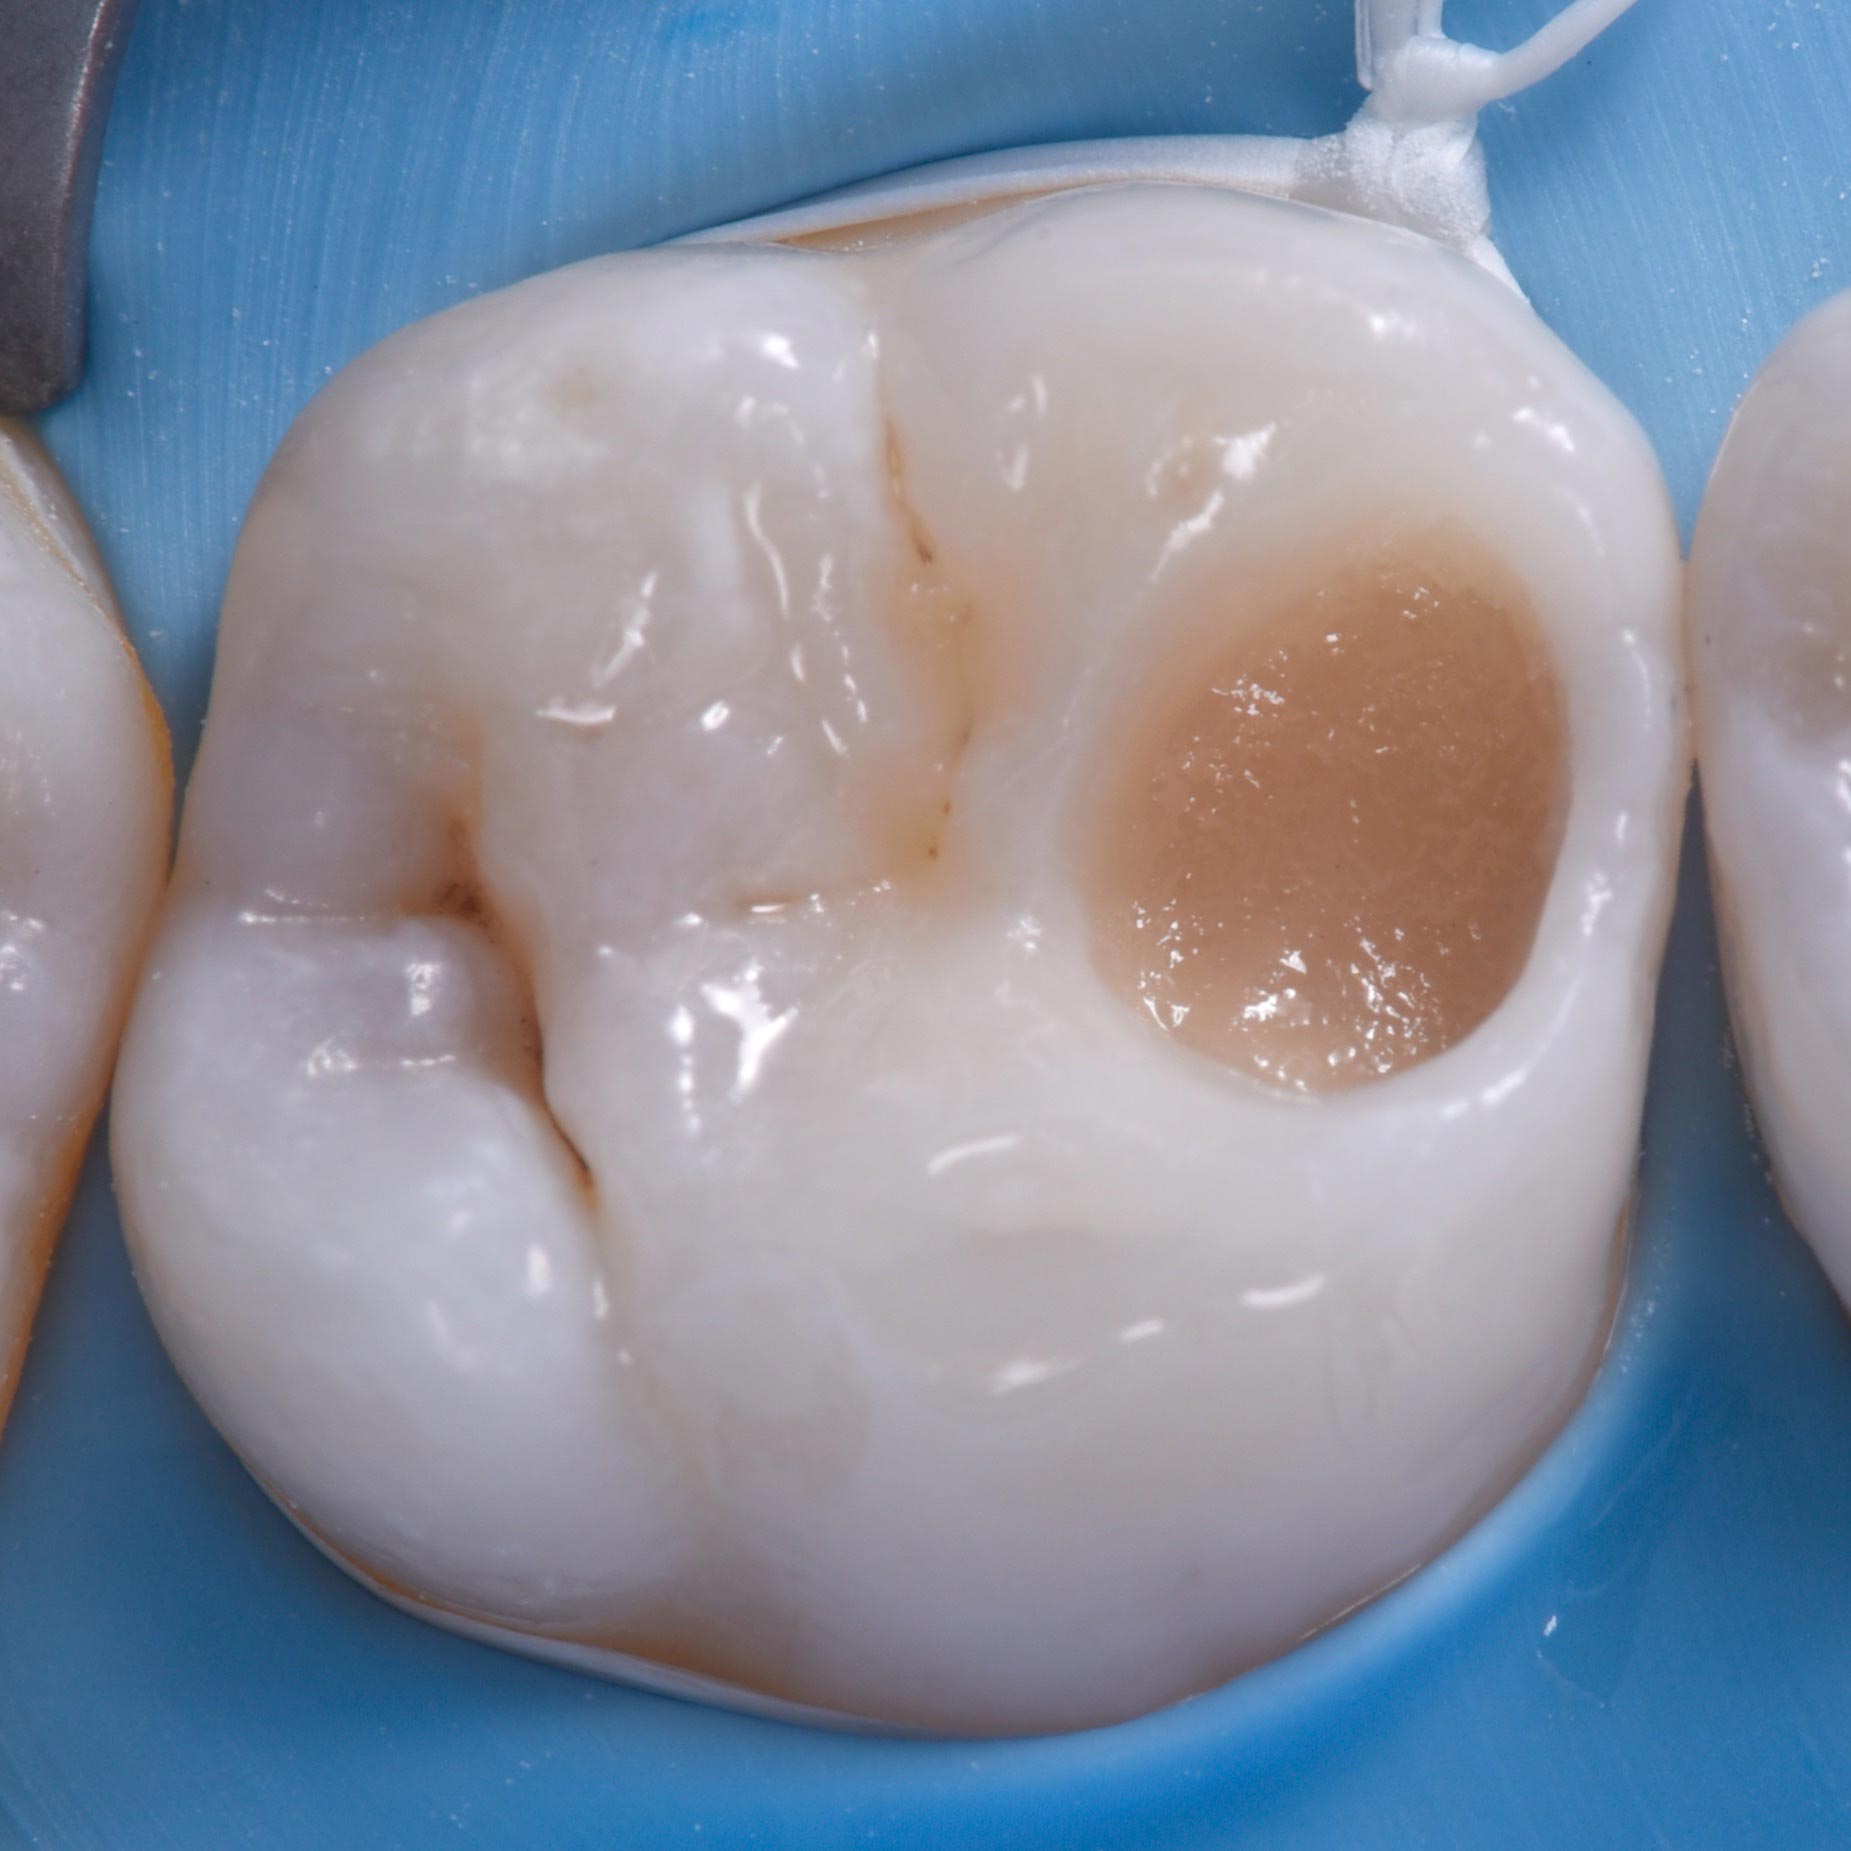
Rebuilding dentine with an A3.5 composite.
Rebuilding enamel with an A2 composite, but not cured yet…
Applying the previously created stamp to shape the enamel composite.
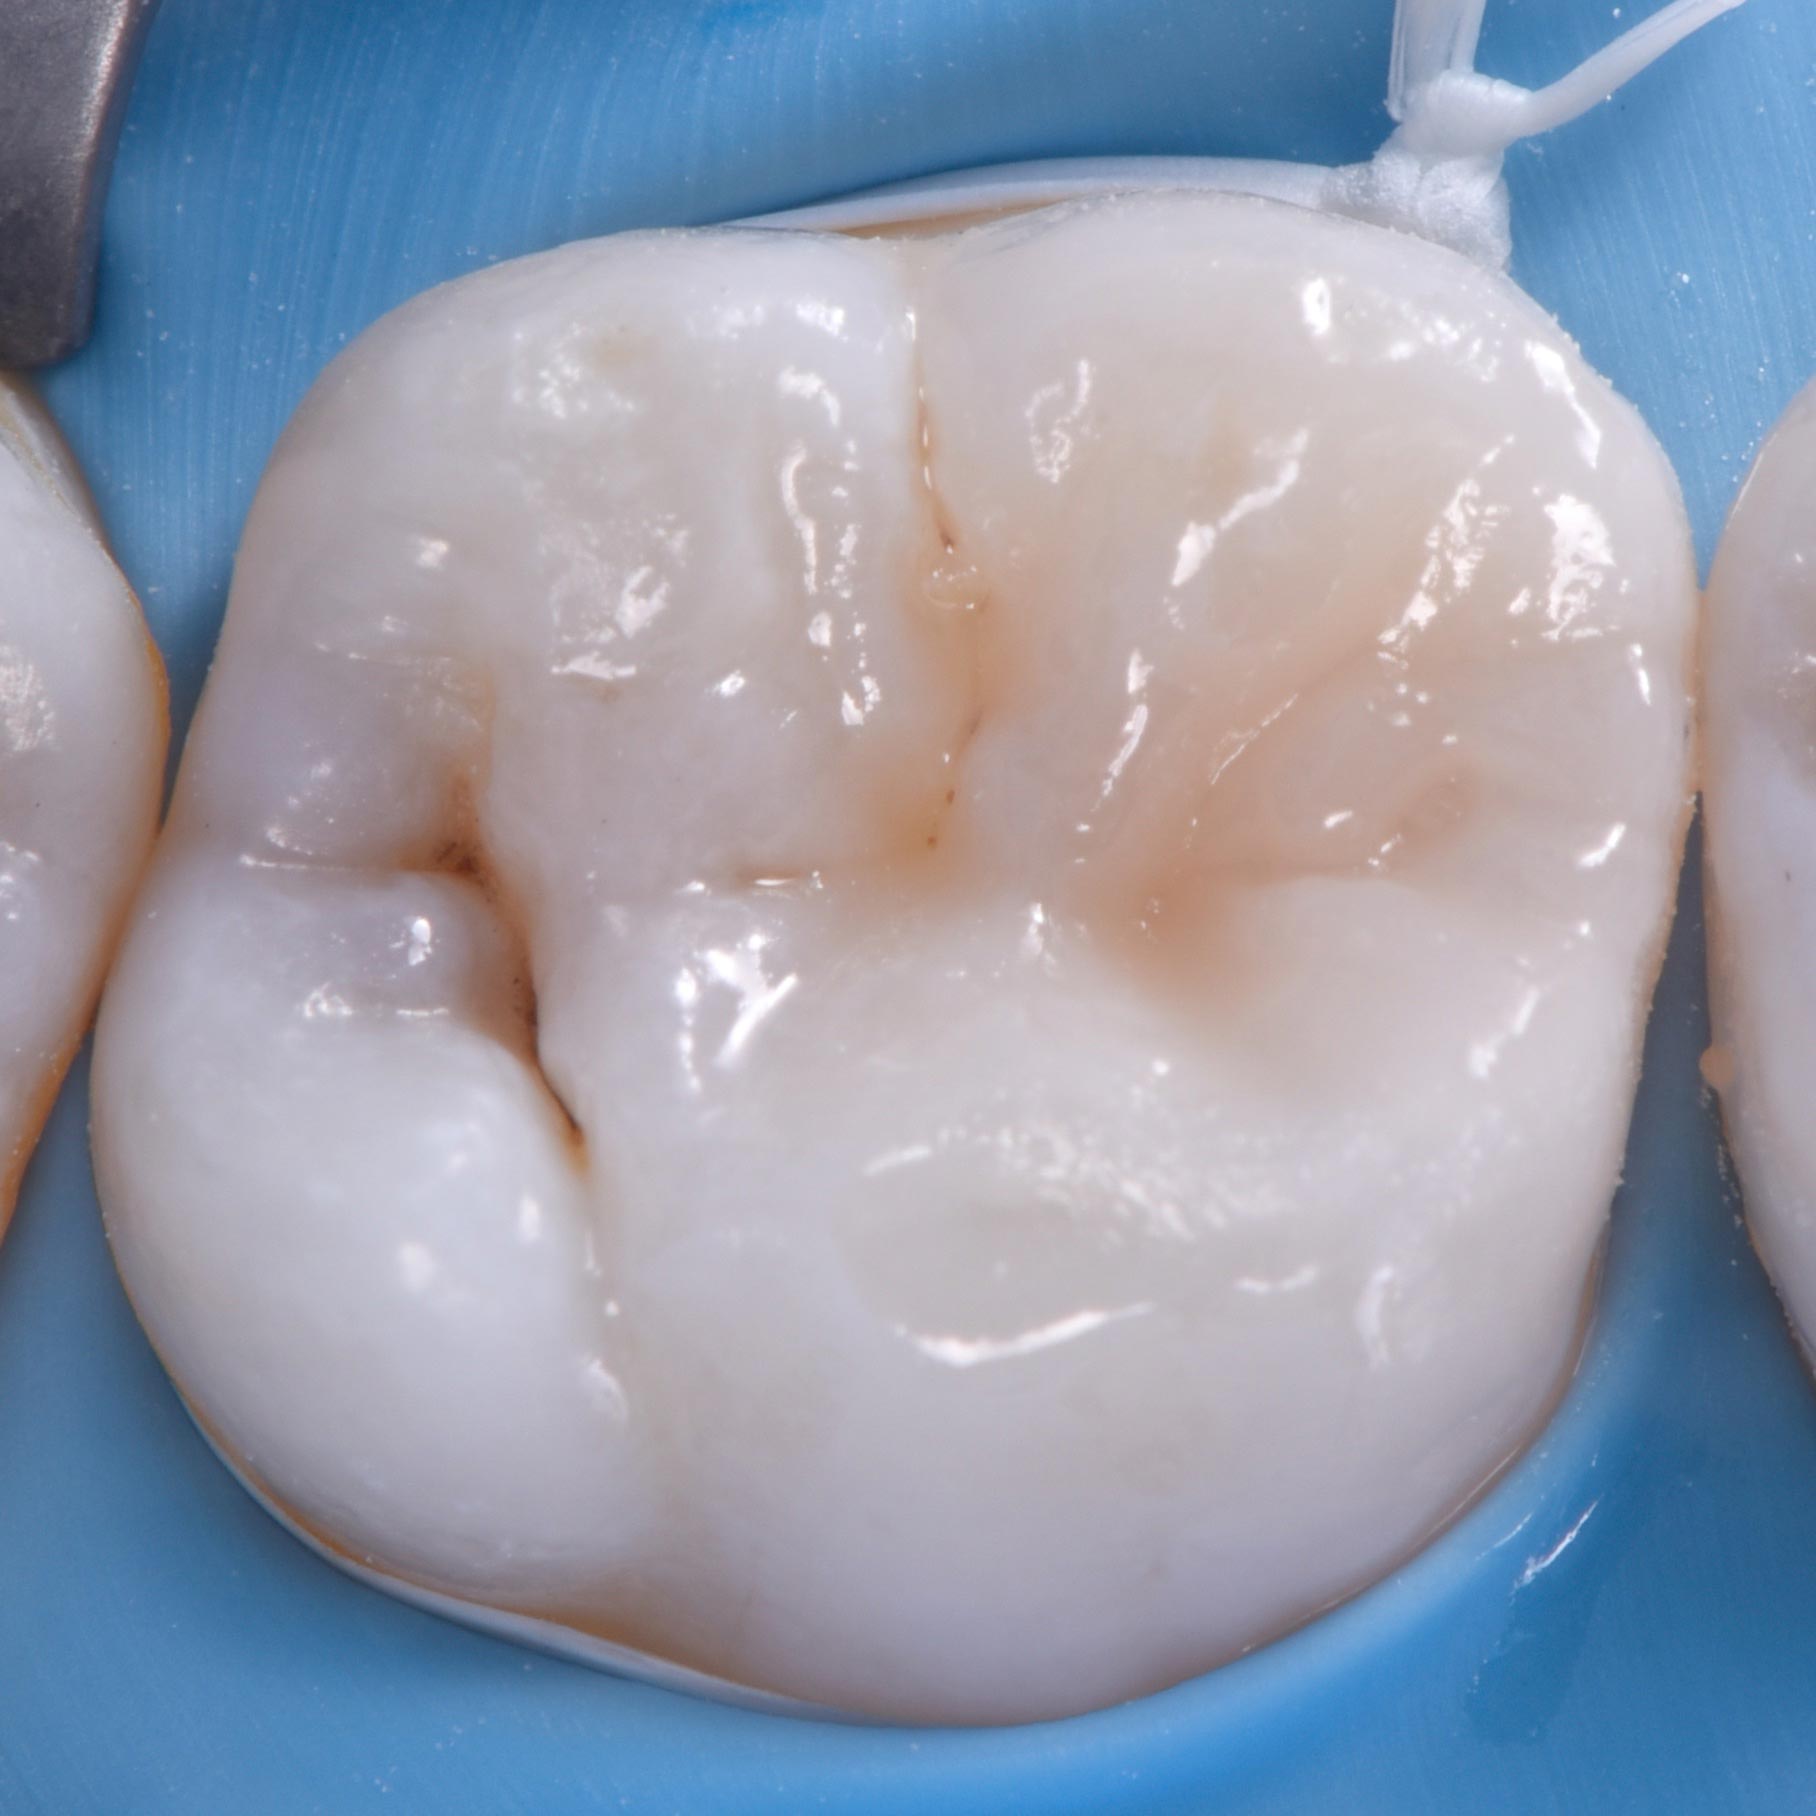
After removing the stamp and the excess composite, ready to cure!